


WRITTEN BY JEFF SHIFFMAN
CO-OWNER OF BOOM BOX POST
In June of this year, Pro Tools released an update that caught my attention. Version 2025.6 features Speech to Text, a new AI-driven technology that could potentially be a leap forward in how we handle dialogue in post production sound. I know, just the mention of AI can be scary for all of us - trust me, I get the concerns. But I do firmly believe that when used solely as a tool and not a replacement for human creativity, there may be some very helpful applications for AI in our workflow. Is Speech to Text a game changer feature for Pro Tools? I decided to give it a try.
OVERVIEW
So what is Speech to Text anyway? Pro Tools now has the ability to scan audio files of recorded human speech (dialogue, vocals, etc) and transcribe the words. Pro Tools presents this data as an overlay on each audio clip in the timeline. It also creates a very useful database.
Use Case
Swapping dialogue takes with Speech to Text
As a re-recording mixer, we have all the dialogue at our fingertips. However, until text to speech all we had were waveforms and their associated labels. Productions typically label clips with the character or actor as well as an associated line number, but importantly they do not label files with the text of the line; the spoken words. Oftentimes during a client review, clients may want to swap out different reads of a particular line. Not too cumbersome if you have alt takes at the ready (thank you organized dialogue editors) but it does require muting and unmuting or moving materials around just to hear some options.
But what if we don’t have alt takes? We’ll often comb through an entire episode’s worth of character dialogue, trying to find a potential matching word, line by line. With Speech to Text, all scanned dialogue is now searchable and filterable by many parameters; you can immediately find potential substitutes. This, in my opinion is a game changer. Anywhere you can save time and be the hero to the clients is a huge win, and this new tech solves a common issue quite eloquently.
Getting Started
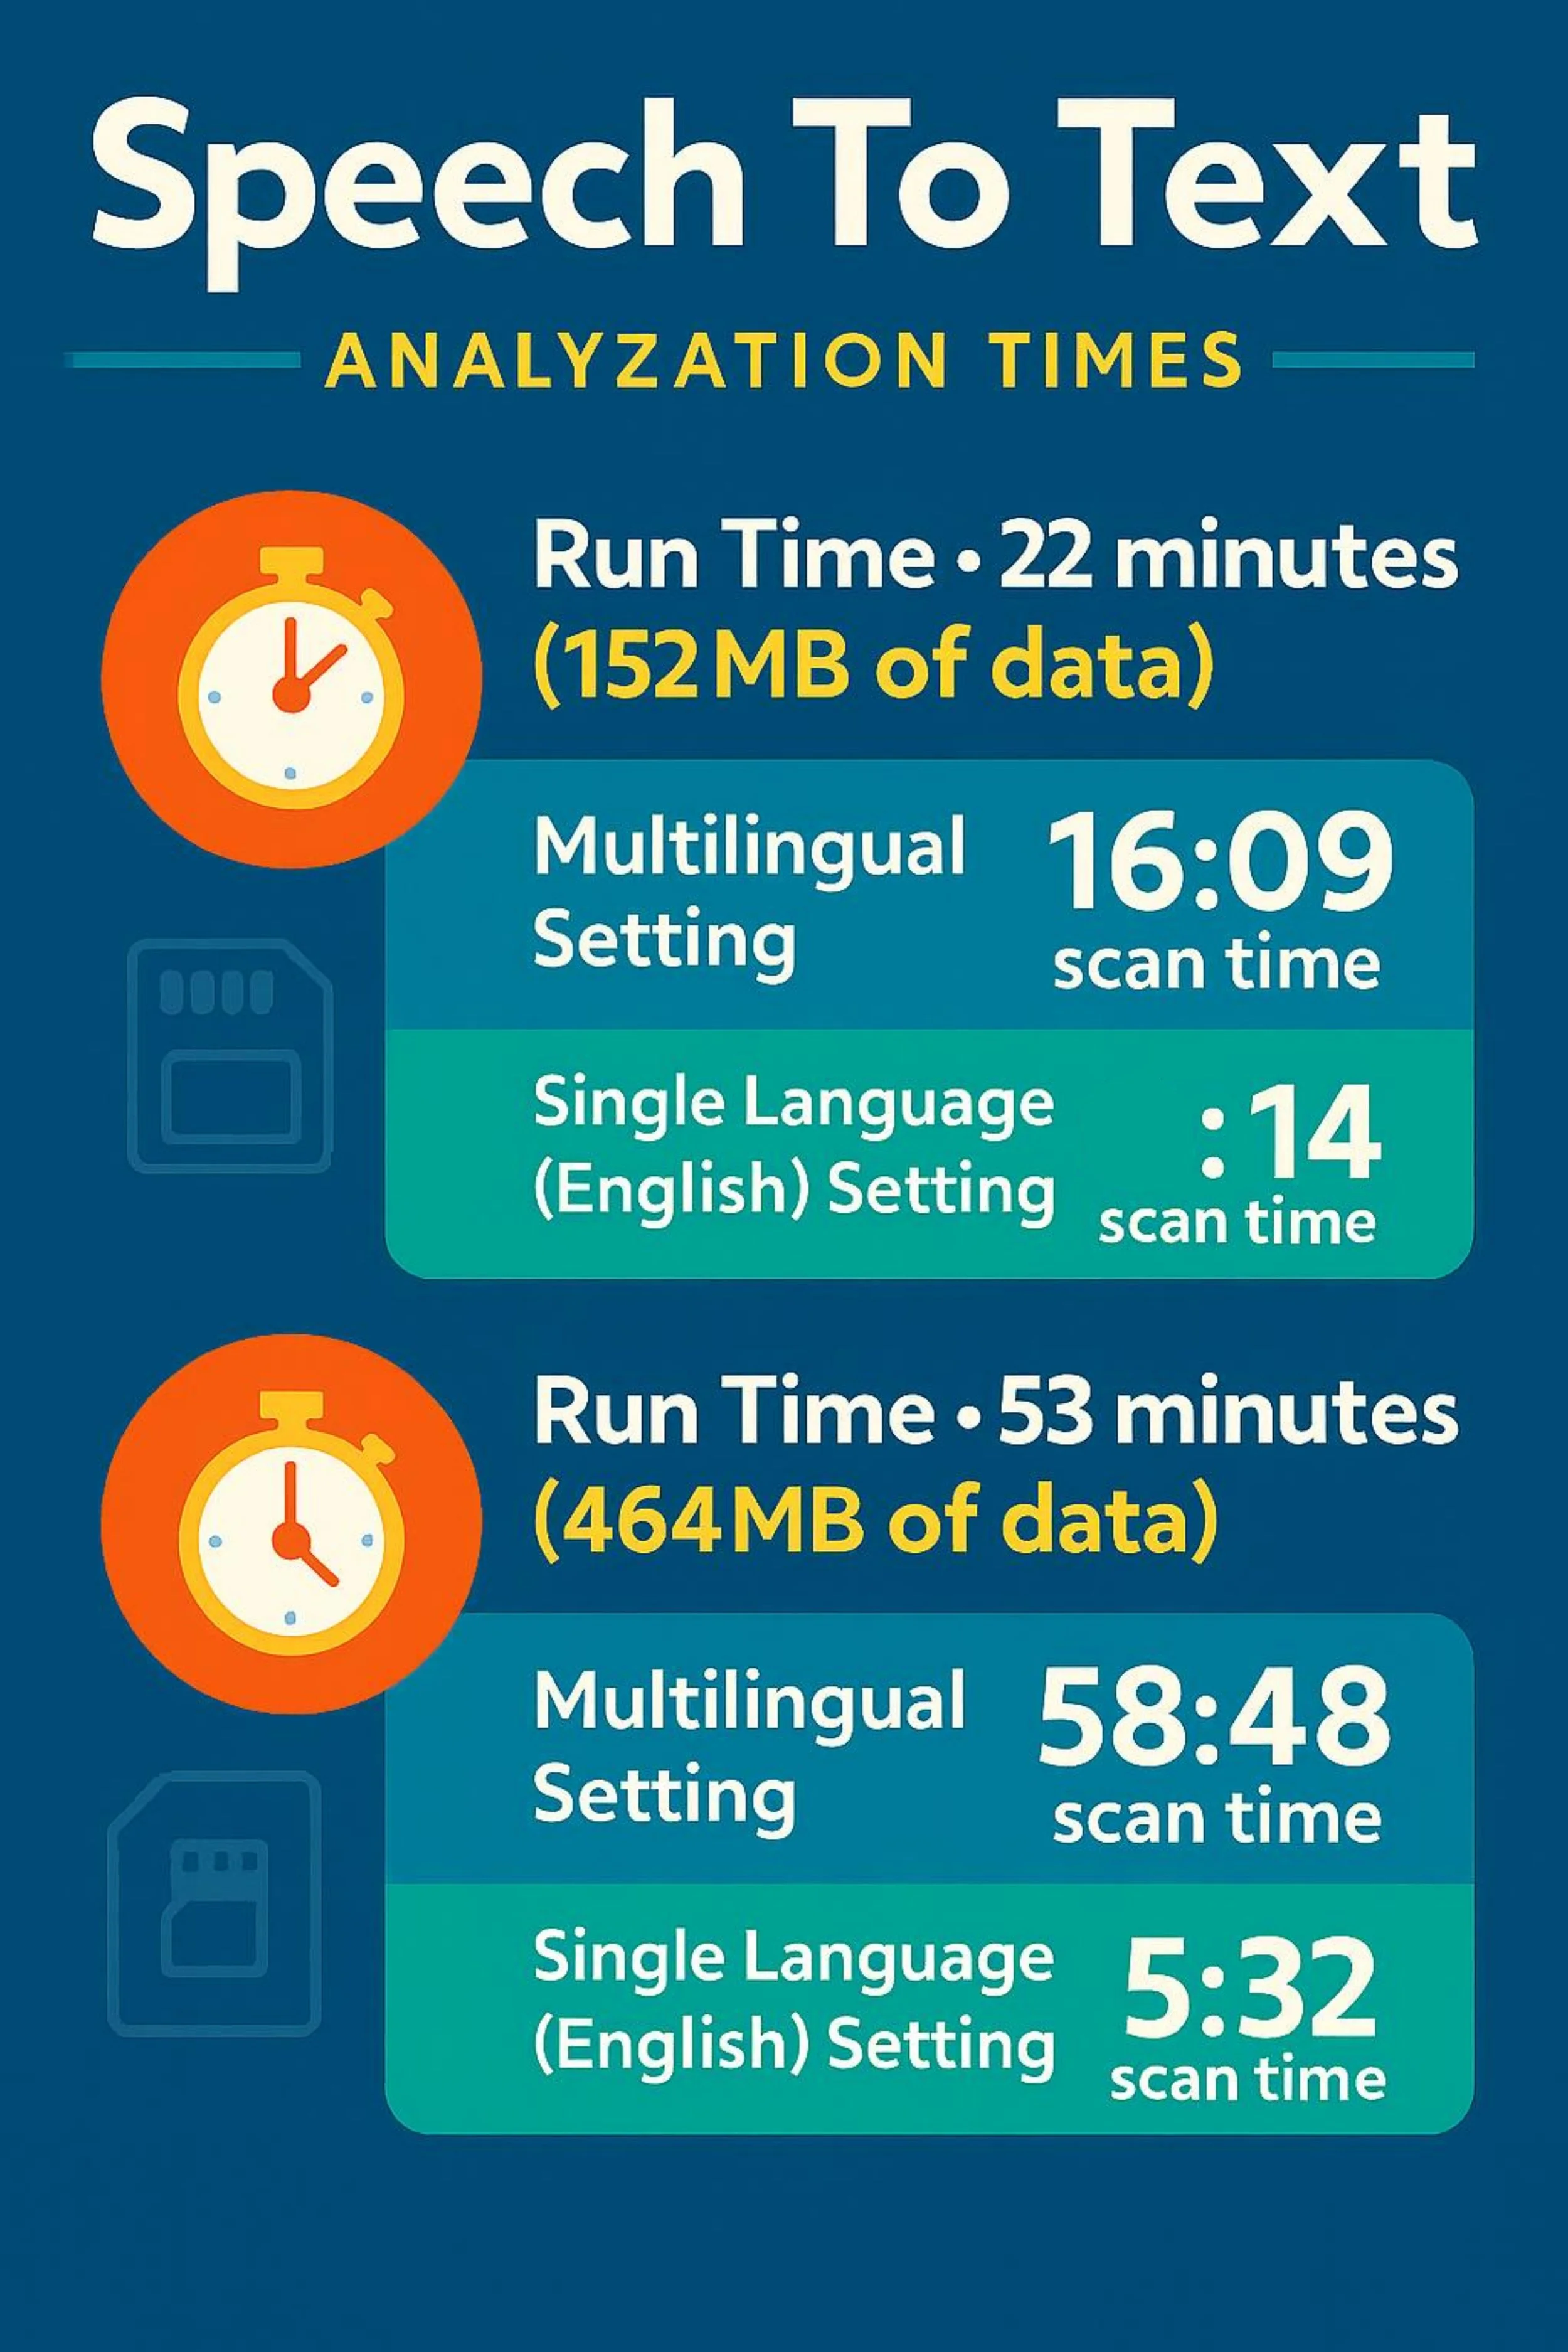
To get working with Speech to Text, you need to give Pro Tools some direction. The first time you try and transcribe a file, you’ll likely receive the following message: “Speech to Text Engine is not installed. Would you like to download and install it now?” Click yes and AVID takes care of the rest under the hood. Next, go to the Setup menu where you’ll find Transcription Settings which, among other tweaks, gives you the option to specify a language. You can certainly leave this on Multilingual, but in my tests, it is roughly 10x faster to clue the AI in on what language it’s listening for. As long as your project is not multilingual, choose a language and save yourself a ton of time.
Pro Tip: Since settings save with your projects, save your preferred language when creating a template for repeat projects.
Next you’ll need to tell the software what to analyze. You can right-click individual clips in the timeline or in the clip bin if you only need to work with a small amount of material. But in practice, I think the most logical path is to have it analyze all of your dialogue, so that you know you are searching everything in the session. To do this, highlight all your dialogue tracks, then right-click and choose full tracks. Once this option is chosen, these tracks will even continue to analyze any new clips dropped onto them.
Seeing The Results
Transcript view overlays larger text
Text shown overlaying clips is dynamic. The more you zoom in, the more it can display. You also have the option to choose transcription in the track view, which will both make the font larger and wrap text for easier viewing.
Also nice to note is the ability to toggle text overlay on and off with the track transcription lane option in the View menu. Or even better, use the quick key (Shift + Control + U). Generally, I like leaving the text visualization off to avoid too much clutter, toggling it on when necessary.
Transcriptions in the Timeline
There are two view options within the transcript window, Timeline and Files. Each tab can be individually customized to show only the data you want in a font size you prefer, but ultimately both have different uses.
Pro Tip: Transcript window customization choices save with sessions and templates so you can tailor these choices on a per project basis.
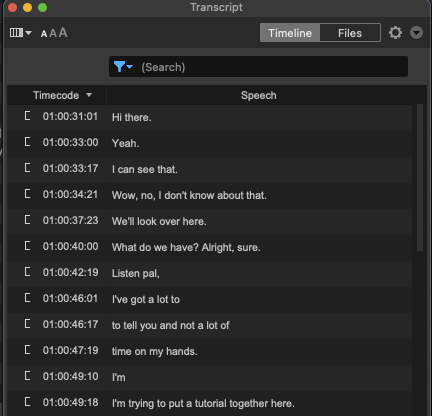
The Timeline view has a column for viewing timecode locations of each clip. It also gives you the option of seeing what track is attributed to each line of dialogue. If like us, you label your tracks by character, this can be a very handy reference. You can filter by track name and then search for specific keywords.
The Files view lets you preview lines or even individual words just by clicking on them; super useful for auditioning options on the fly.
Pro Tip - if you right click the playhead, you’ll get options to toggle loop, auto play and spacebar playback.
Just like the Timeline view, you can filter your search in multiple ways. As long as your record files are named with the character, it’s a snap. The best feature of the Files tab is the ability to option click (mac) any lines or words to drag them directly into pro tools.
So in practice, if a client was bumping on a read from the character “Bill” saying “wow,” you would filter the file name for “Bill” and search the results for the word “wow.” You can then click through each instance for the clients to preview on the fly and once they find one they like, option-click to drag it into the timeline, replacing the bad take. Magic.

So which view is better? I find the Files view to be the most useful, but you’ll likely use a combination of the two in your work. The Timeline view is great for gathering information (like timecode location) but the Files view is what you’ll use for auditioning and integrating changes. I’m sure AVID had their reasons to separate these out, but I think it would be simpler (and more useful) to have it all in one view.
Room For Improvement
While I hate to complain about this revolutionary new tech, I do see some opportunity for it to be improved in future iterations.
For starters, the AI is great at detecting words, but not quite up to the task of consistently identifying speech that is more descriptive. It would be extremely helpful to be able to search for terms like laugh, yell, gasp, pant, etc. I did get a few in my results, but nowhere near the sum total of this material. And in my experience, a lot of what clients want to replace/audition are these non-verbal efforts/sounds.
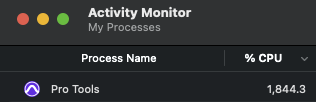
Activity taxed at almost 2,000% while analyzing non-verbal dialogue
Compounding the issue, in watching the Pro Tools Task Manager as well as the Mac Activity Monitor during scanning it seems these particular lines really slowed down the scanning process. It seems to struggle for quite a while on those lines with which it can’t find a quick match. It blazed through most series, but when I attempted to scan a show with lots of fighting efforts, it slowed way down. Not ideal, though this feels like an easy fix as the model improves.
Conclusion
My issues are small nits to pick for what seems to truly be a gamechanger. I’ve been using this new tech for a while now, and it seems AVID worked the bugs out before releasing wide, which I very much appreciate. If you, like me, want to work some new tools into your arsenal, I feel strongly that Speech to Text is one worth upgrading for.
key takeaways from testing speech to text in pro tools 2025.6
Speech to Text is a major new AI-powered feature in Pro Tools 2025.6, allowing automatic transcription of dialogue and vocals directly in the timeline.
Text overlays on audio clips and a searchable database make it easier than ever to locate alternate takes or match lines, saving time during client reviews.
Setup is straightforward — once the engine is installed, transcription settings can be customized per session or saved as part of a project template.
Language selection is crucial — specifying English over the default multilingual setting reduced scan times by up to 90% in testing.
Scanning is resource-intensive, so allow time for analysis before beginning a mix, especially on large sessions.
Text is dynamic and customizable — toggle overlay visibility, enlarge fonts, and personalize views for streamlined workflows.
Two main views in the Transcript Window:
- Timeline View: Great for seeing timecode and track-based organization.
- Files View: Ideal for previewing, filtering, and dragging alternate takes directly into the timeline.Highly efficient for real-world use cases — instantly locate words like "wow" spoken by a specific character, audition options, and replace takes on the fly.
Room for growth: The system struggles with identifying non-verbal sounds (e.g., laughs, gasps), and these moments noticeably slow down the scan process.
Final Verdict: While not perfect, Speech to Text is a true workflow enhancer and well worth integrating into your post-production toolkit.
If you liked this post, check out these:
Is Pro Tools Ultimate Worth It?
Lunch and Learn: Advanced Pro Tools Shortcuts, Tips, and Tricks
Lunch and Learn: Pro Tools Automation 101