

WRITTEN BY KATE FINAN, CO-OWNER OF BOOM BOX POST
If you missed Jeff’s big announcement in his blog post Introducing Boom Box Post Verdugo, we are currently building a new facility that will be all our own! We are in the home stretch of construction of our new studio which will feature three Dolby Atmos-ready mix stages. We are hoping to complete construction in about a month, and then we will move on to fabric, wiring, and gear installation on the stages. Because this process has been fascinating to us as first-time mix stage builders, I thought I would share our progress thus far with all of you.
We have had a wonderful team helping us along the way. Architectural designs were done by the amazing office42 architecture. We cannot speak highly enough of them. They’ve been working tirelessly with our acoustician, Lee, and our amazing general contractor, Thorpe Construction. Together, we’ve been able to turn a diamond in the rough into something absolutely fantastic.
In July 2020, we purchased a run-down Burbank auto body shop that we believed had amazing potential. Was it the dirtiest place we had ever seen? Yes. Was it a tad bit neglected? Absolutely. But, we had a vision of a light and bright studio with floor-to-ceiling glass windows, an open collaborative space for our team, and three amazingly tall mix stages (Hello, 25-foot ceilings!!!). Here are the “before” pictures:

We’re pretty sure they never once swept or mopped.
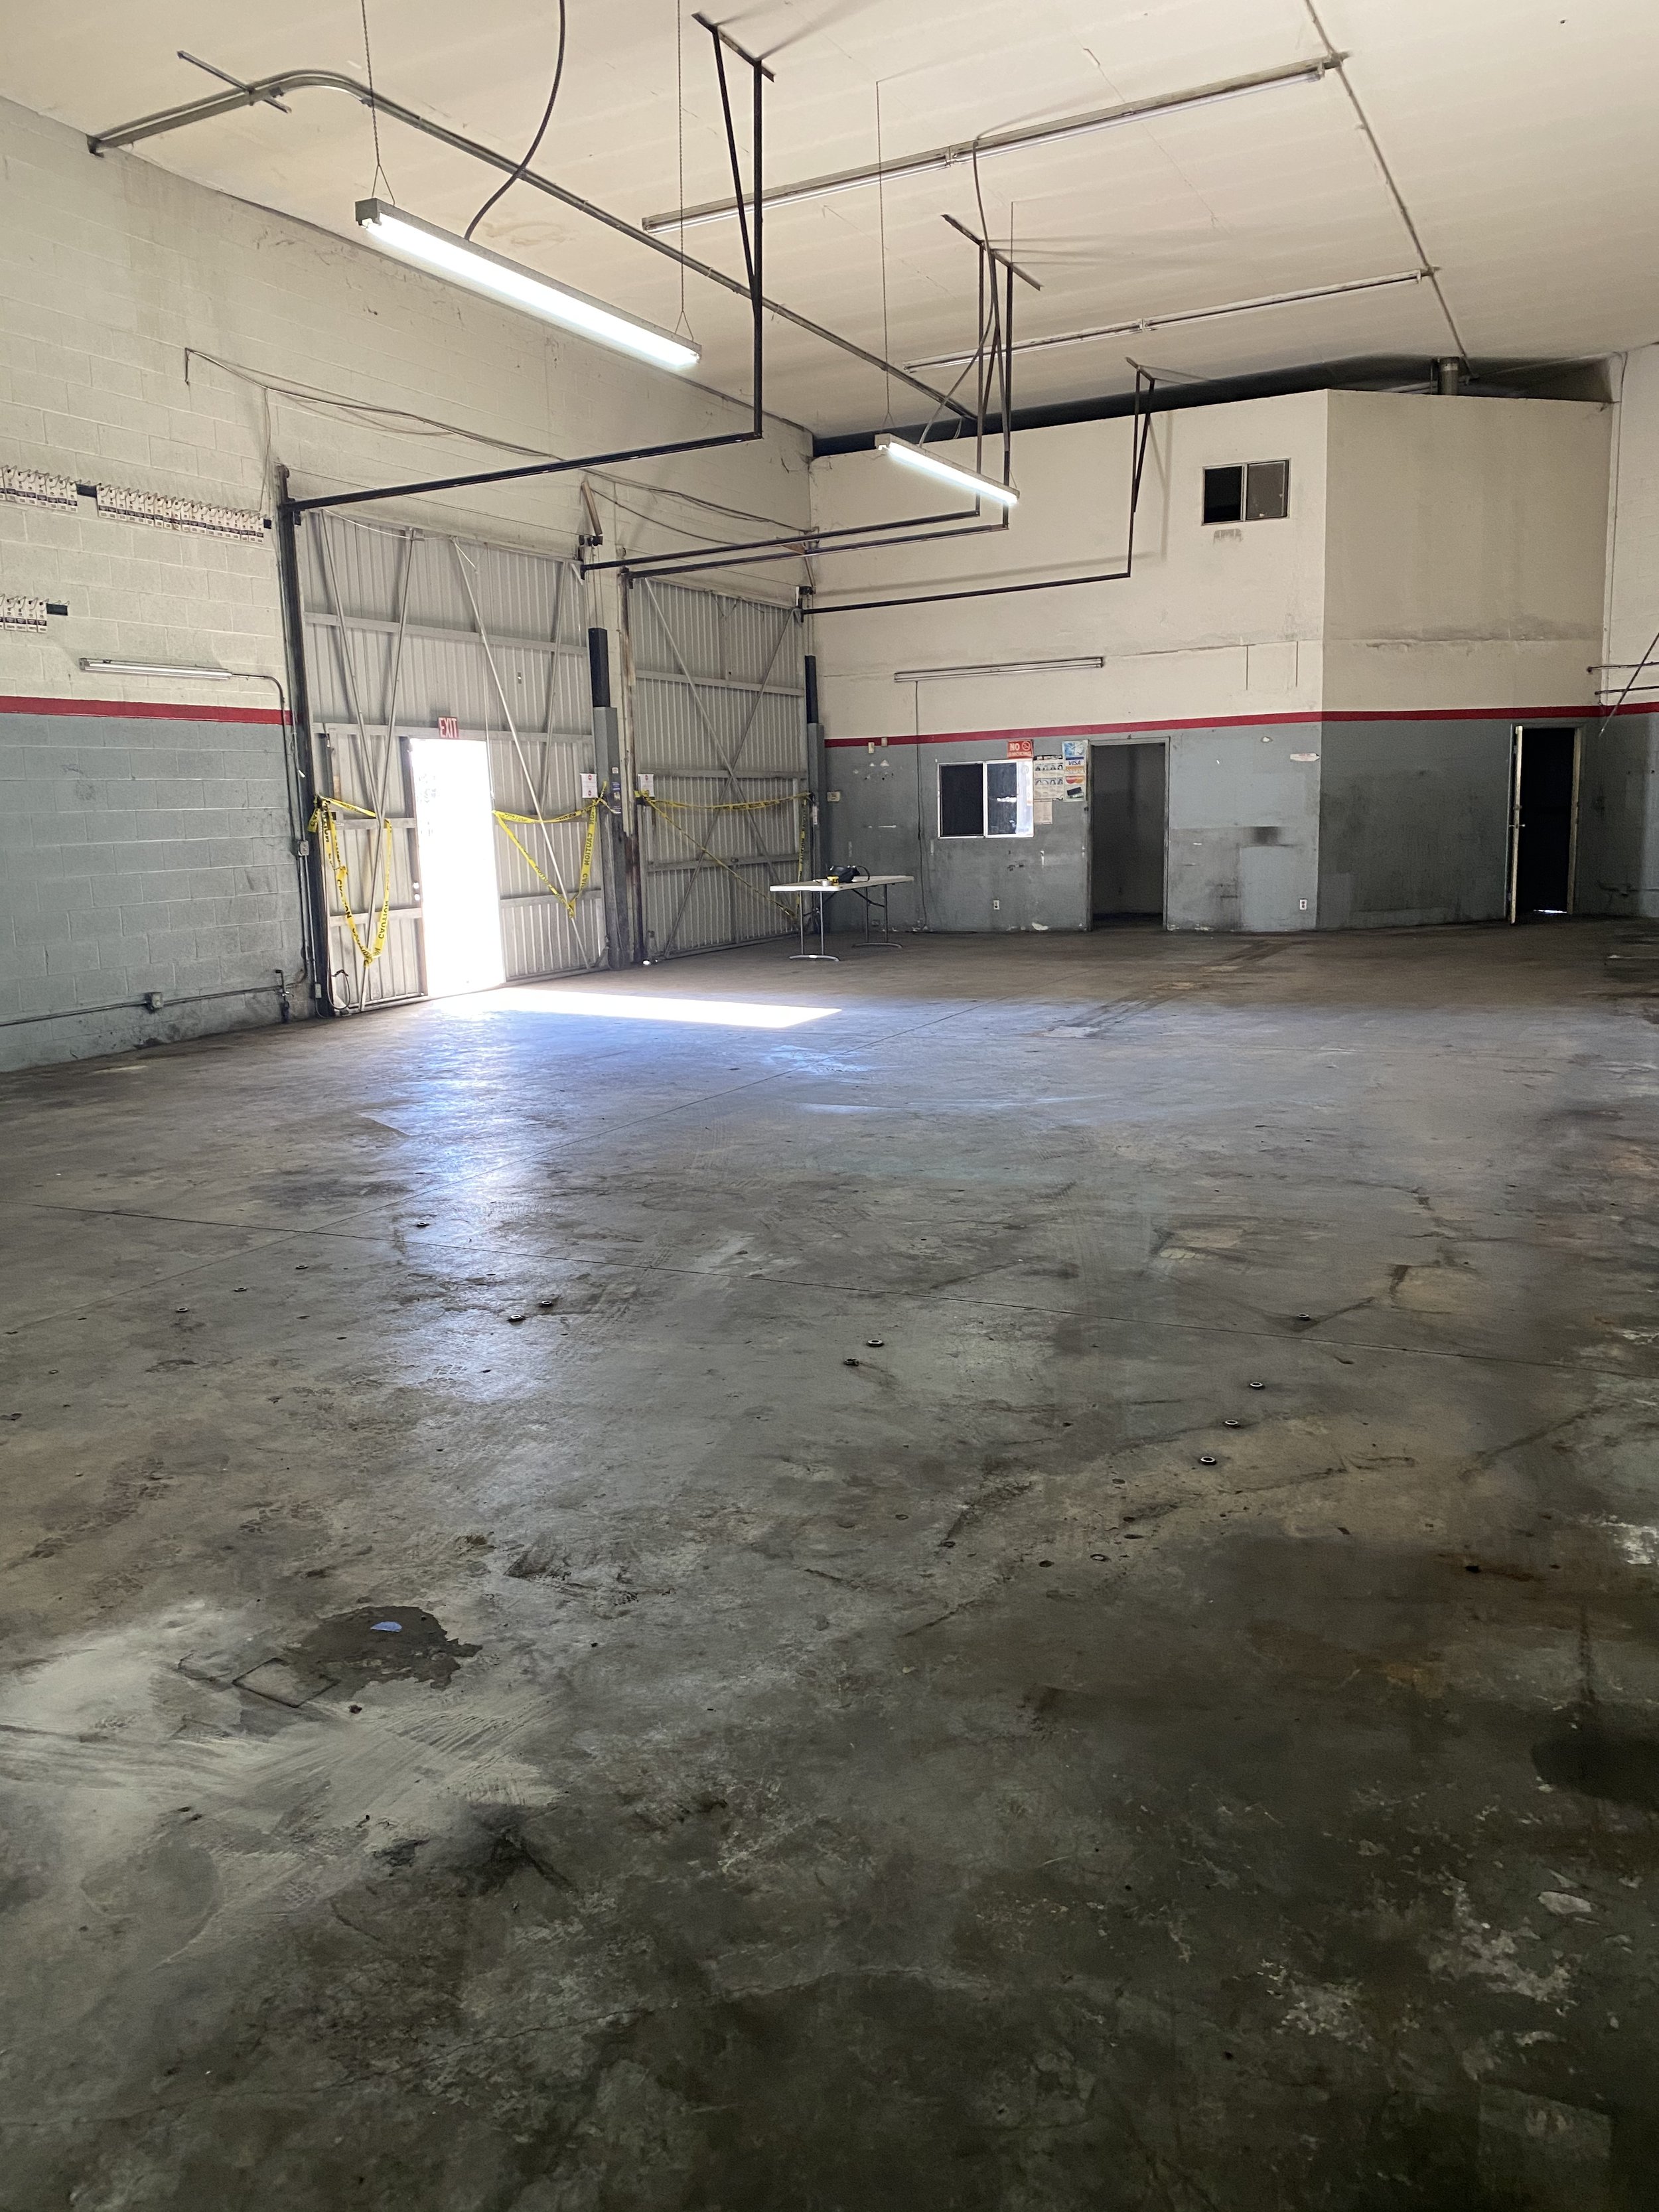
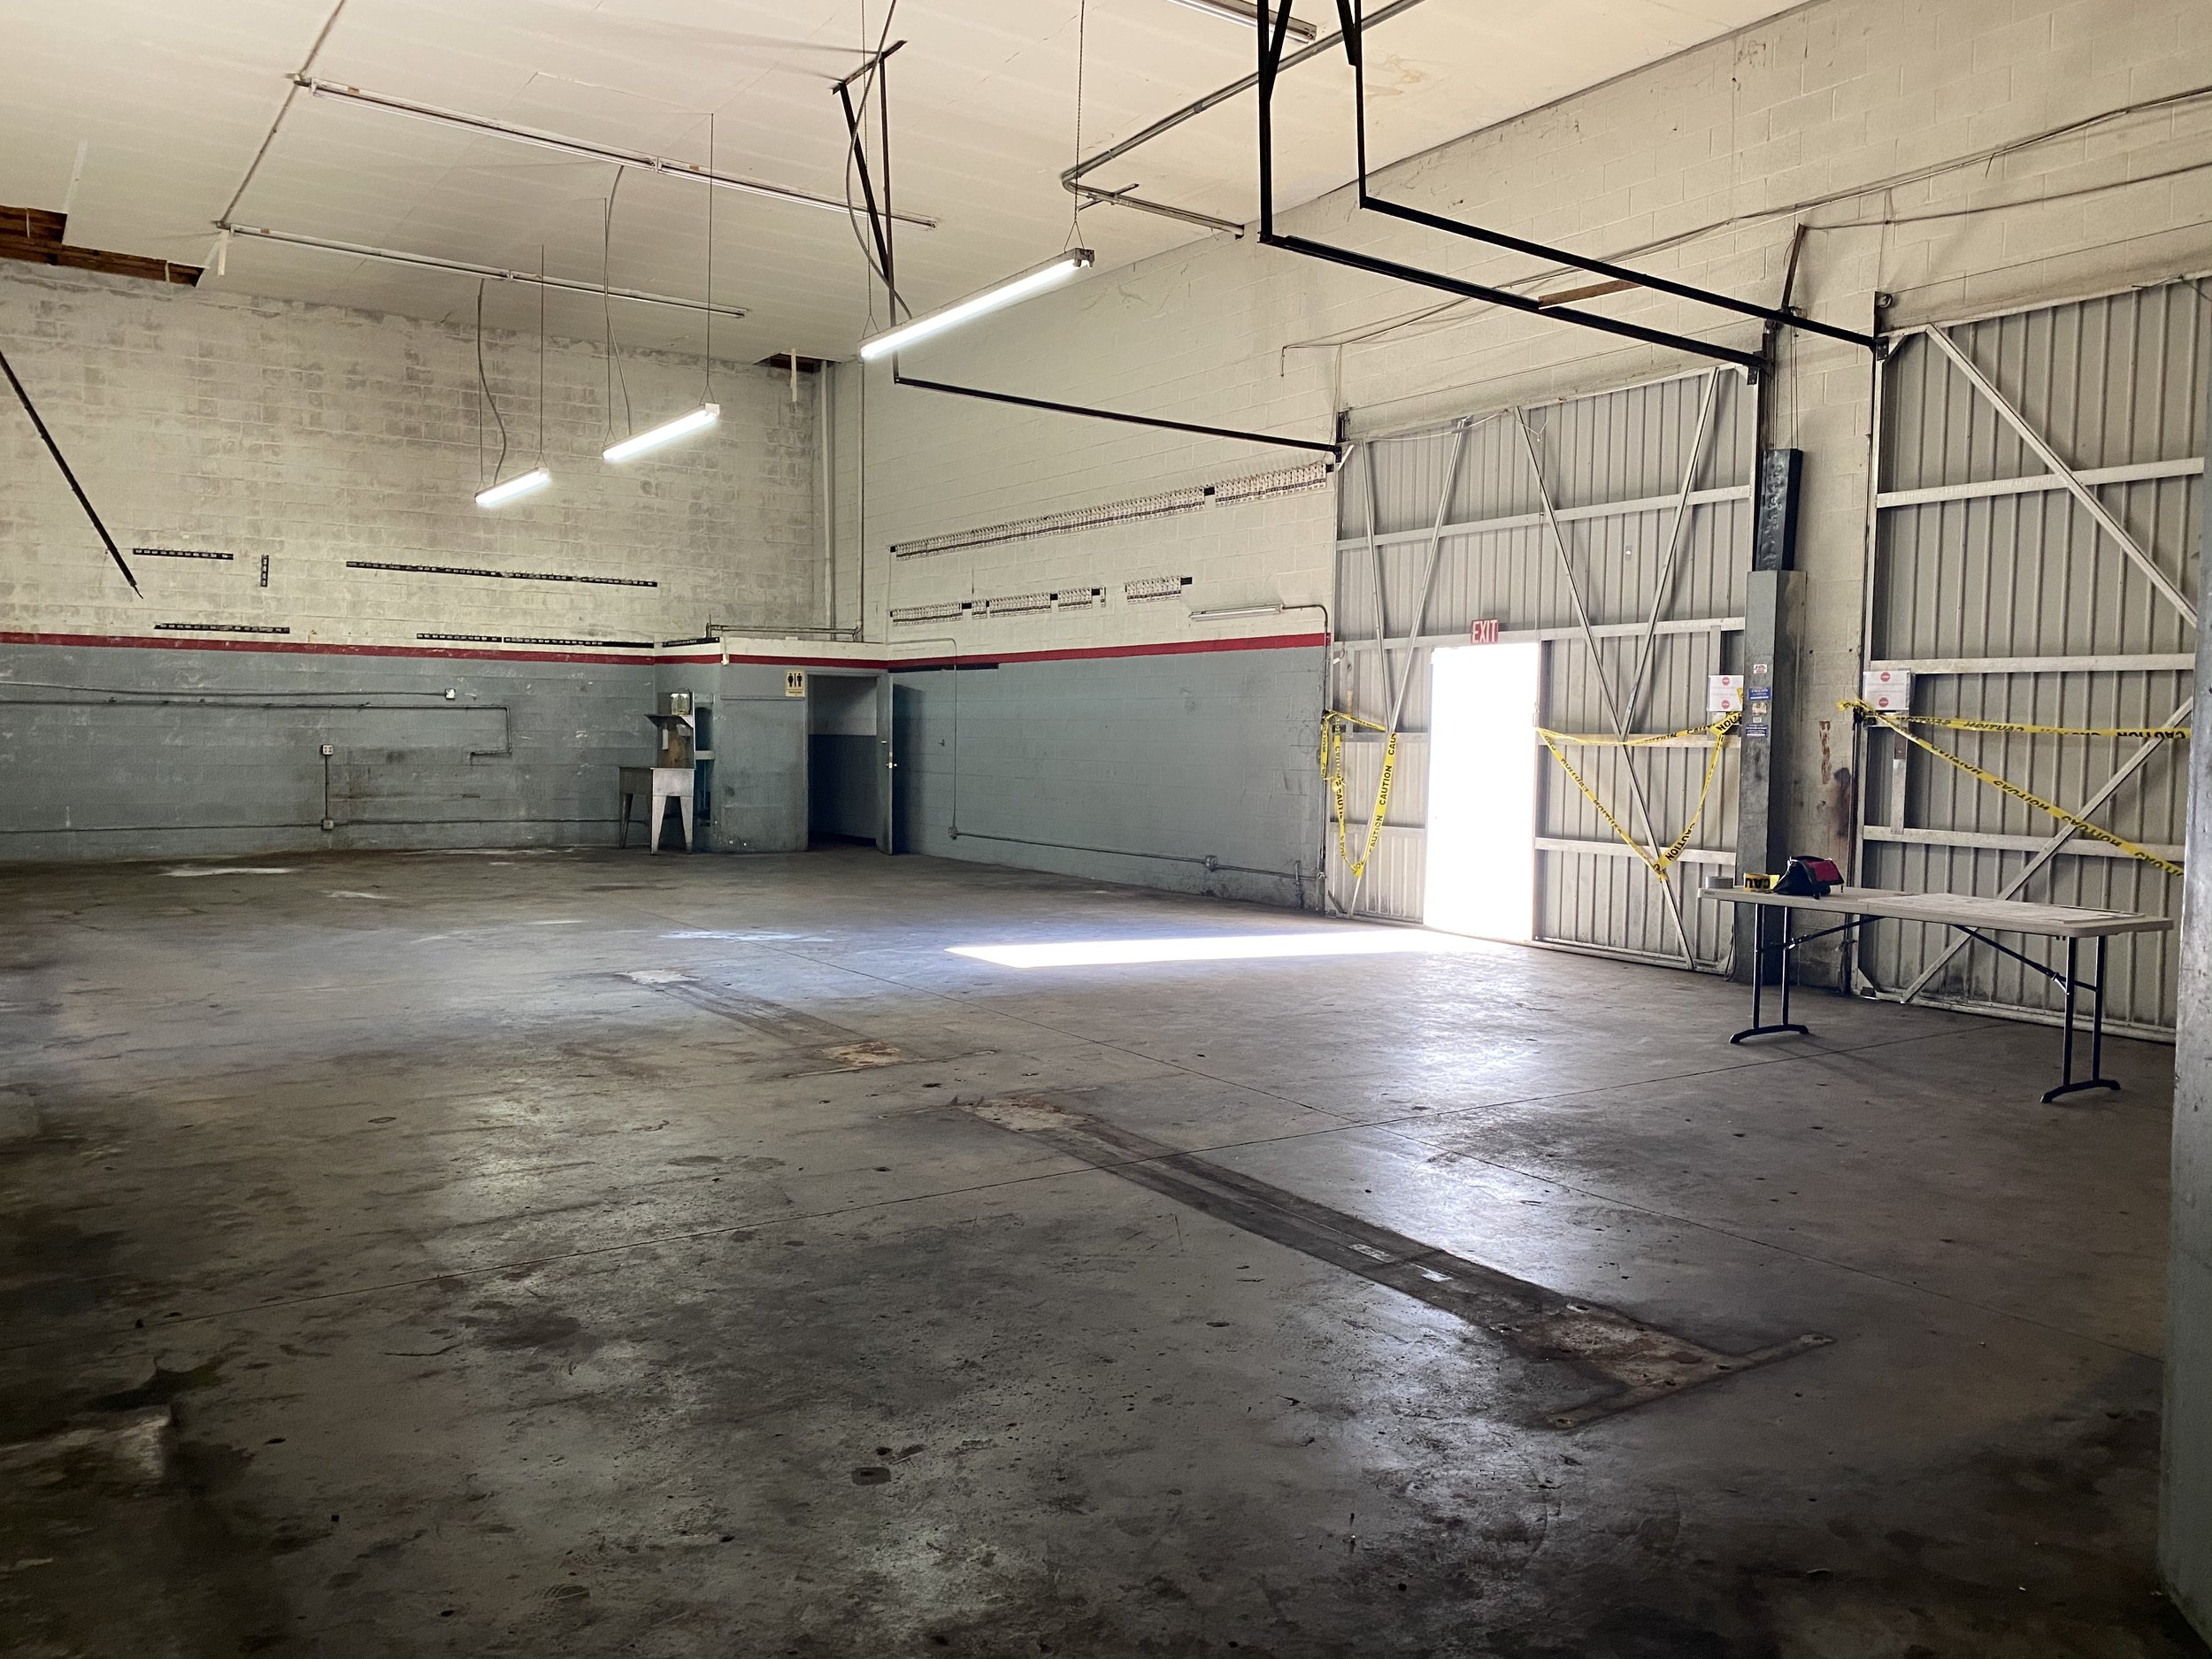
Auto body lift doors and the remnants of car-servicing hydraulic lifts in the floor!
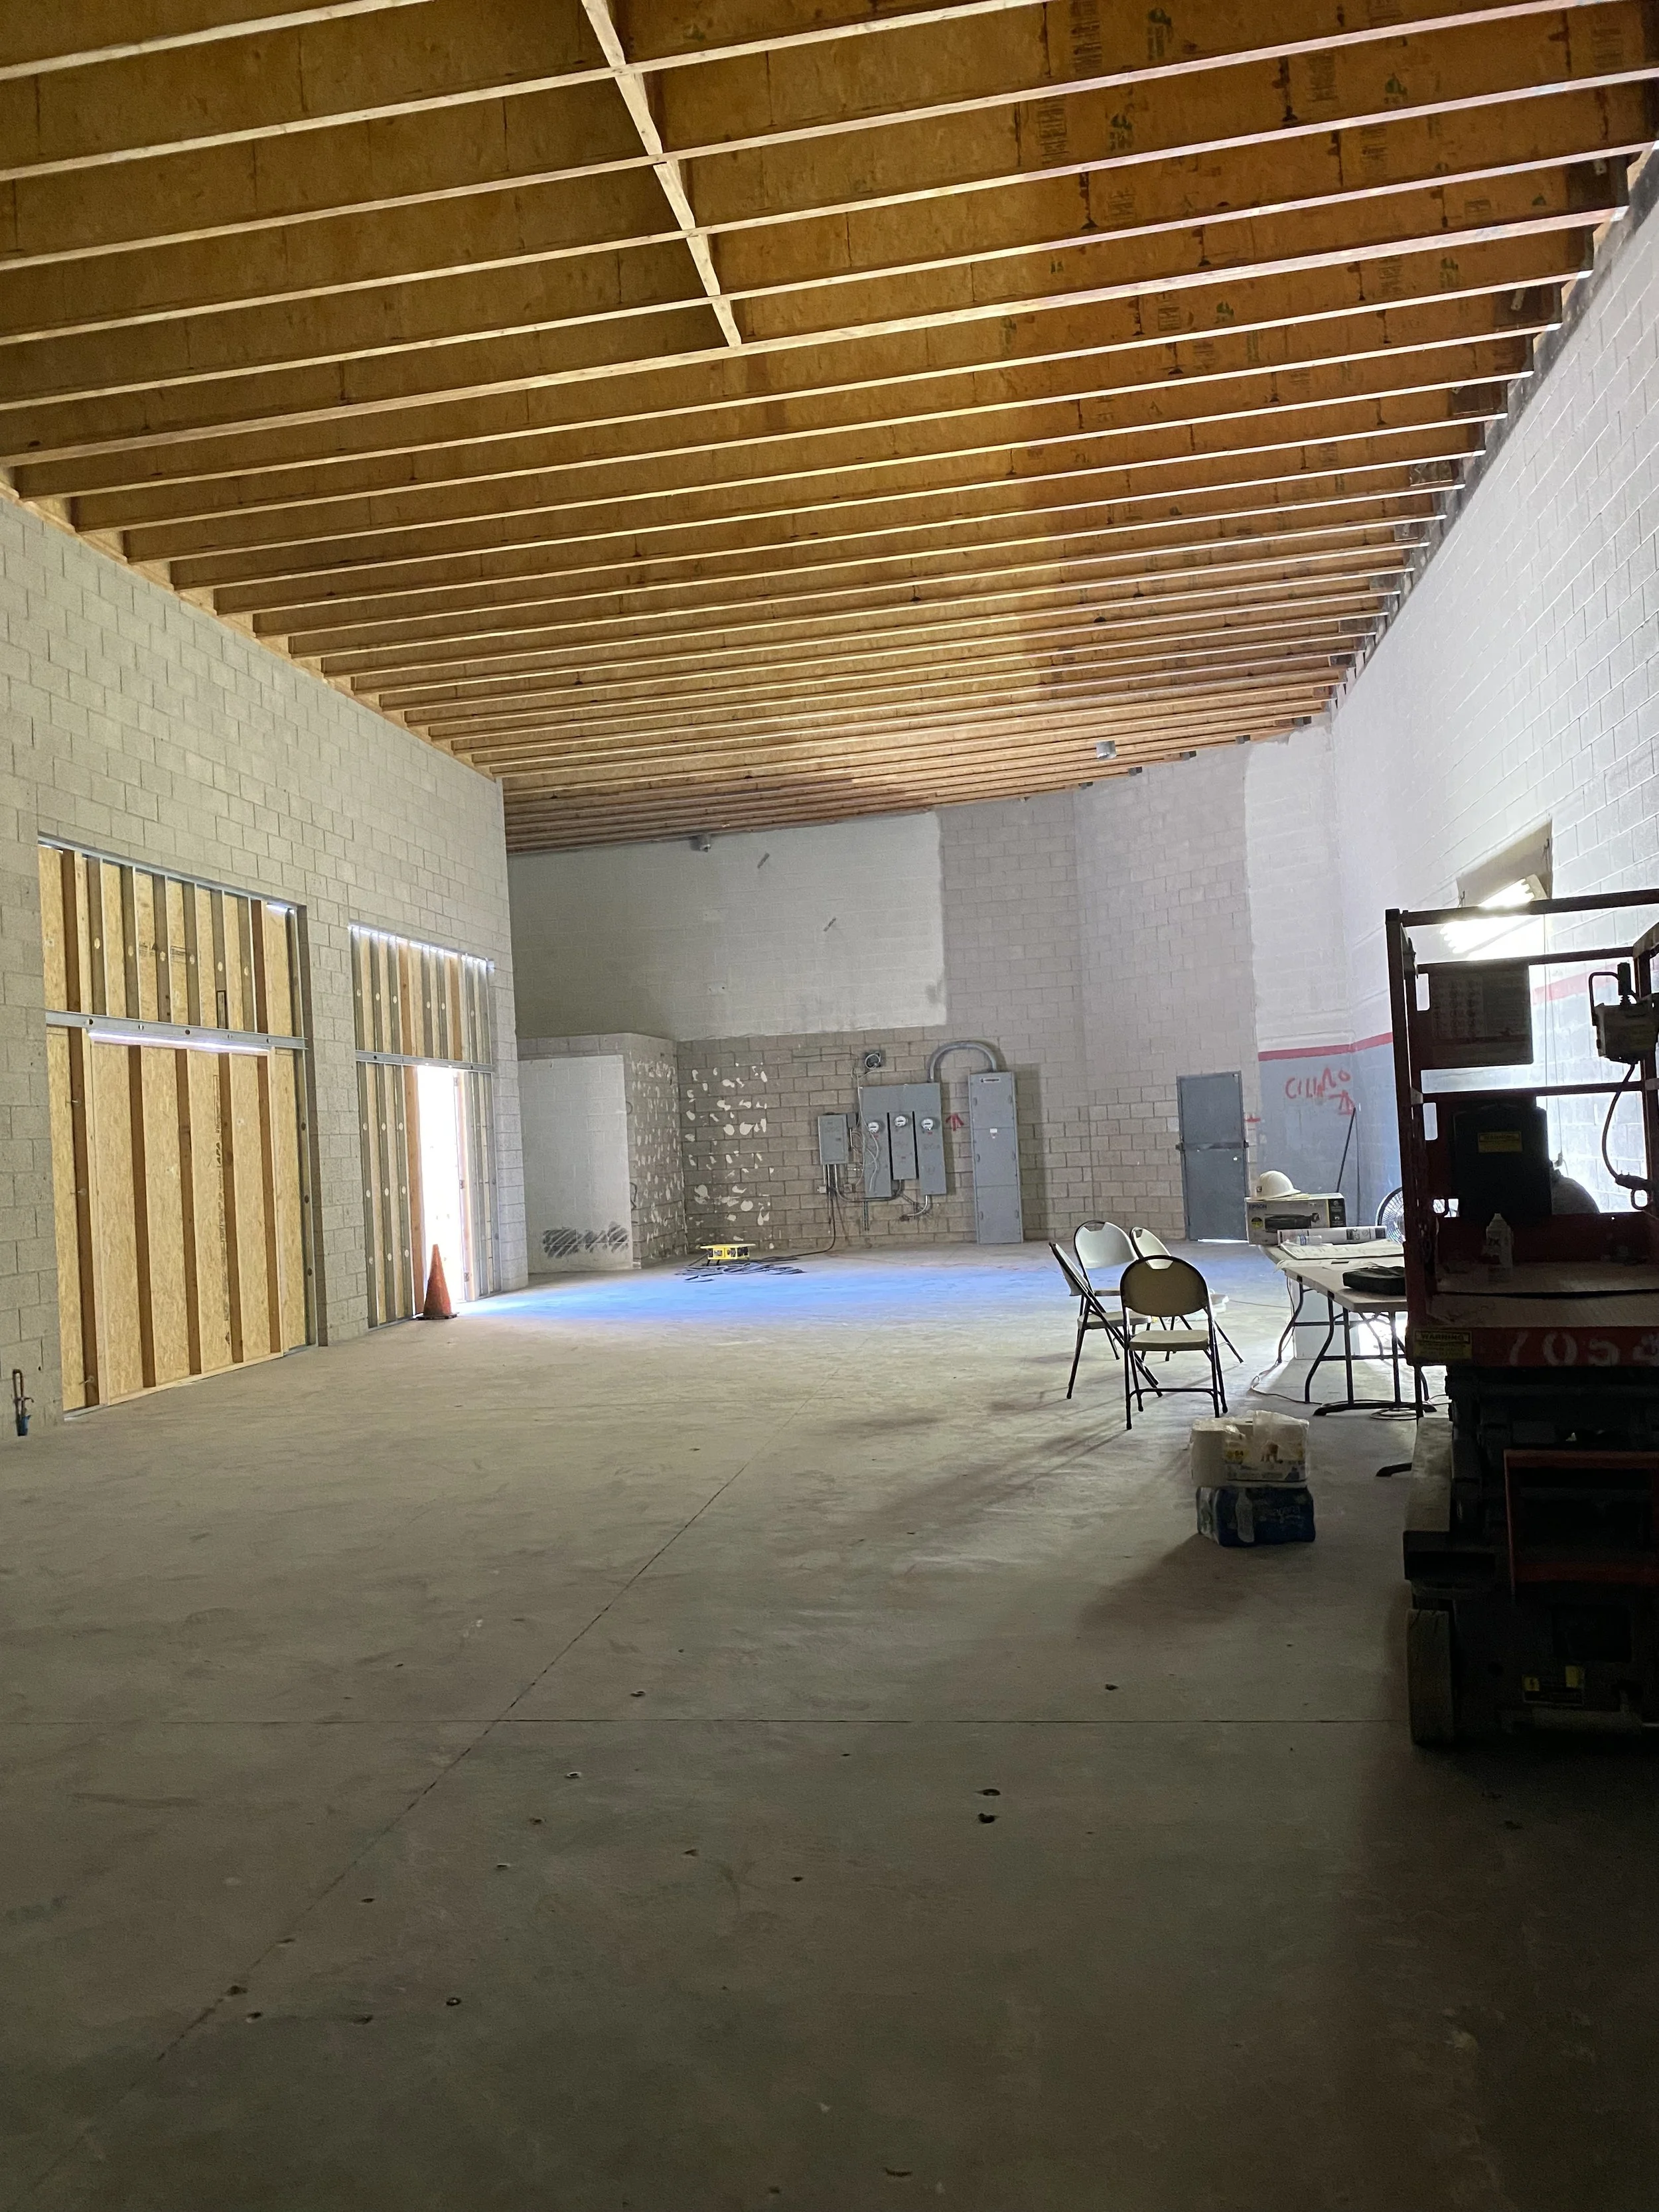
After sand blasting! You can see the difference in the ceiling joists to the left, and how clean the floor was after power washing away 30 years of oil!
The first thing that happened was our construction crew demoed absolutely everything in the building and then sand-blasted the cinder-block walls and wooden ceiling joists so that we could start fresh. Then, they cut giant trenches in the concrete floor in order to make room for pipes as well as our under-ground conduits on the mix stage that run from the mix desk to behind the screen wall, carrying all computer cables cleanly.

Then, the steel framing went in. I had no idea previously, but commercial code calls for metal framing instead of wood. It makes sense since preventing workplace fires has been a cornerstone of building codes since early last century. It was so cool to see the massive amount of steel that was delivered and then cut on-location to create every architectural detail in our plans.

Once the metal studs were in place, we did our first rattle test. This is a necessary test for any mix stage to make sure that any components which are fastened together do not “rattle” when a low frequency is played in the room. The main culprits of this are canned lights, in-wall conduits, and t-bar drop ceilings. But, since you’re dealing with metal beams, any of the joints can potentially rattle. We opted to do two rounds: one when the walls were completely open to check the metal studs. Then, since we only have surface-mounted conduits and no drop ceiling, we will test one final time once the conduit is in place and all light fixtures are installed. The rattle test is conducted by outputting a 100 Hz sine wave from a portable speaker (which must be large enough to get some real oomph at that frequency), and then walking the room to listen for potential rattling, and then marking those spots to be mitigated, most likely with extra caulking. Luckily, our first pass was rattle-free!


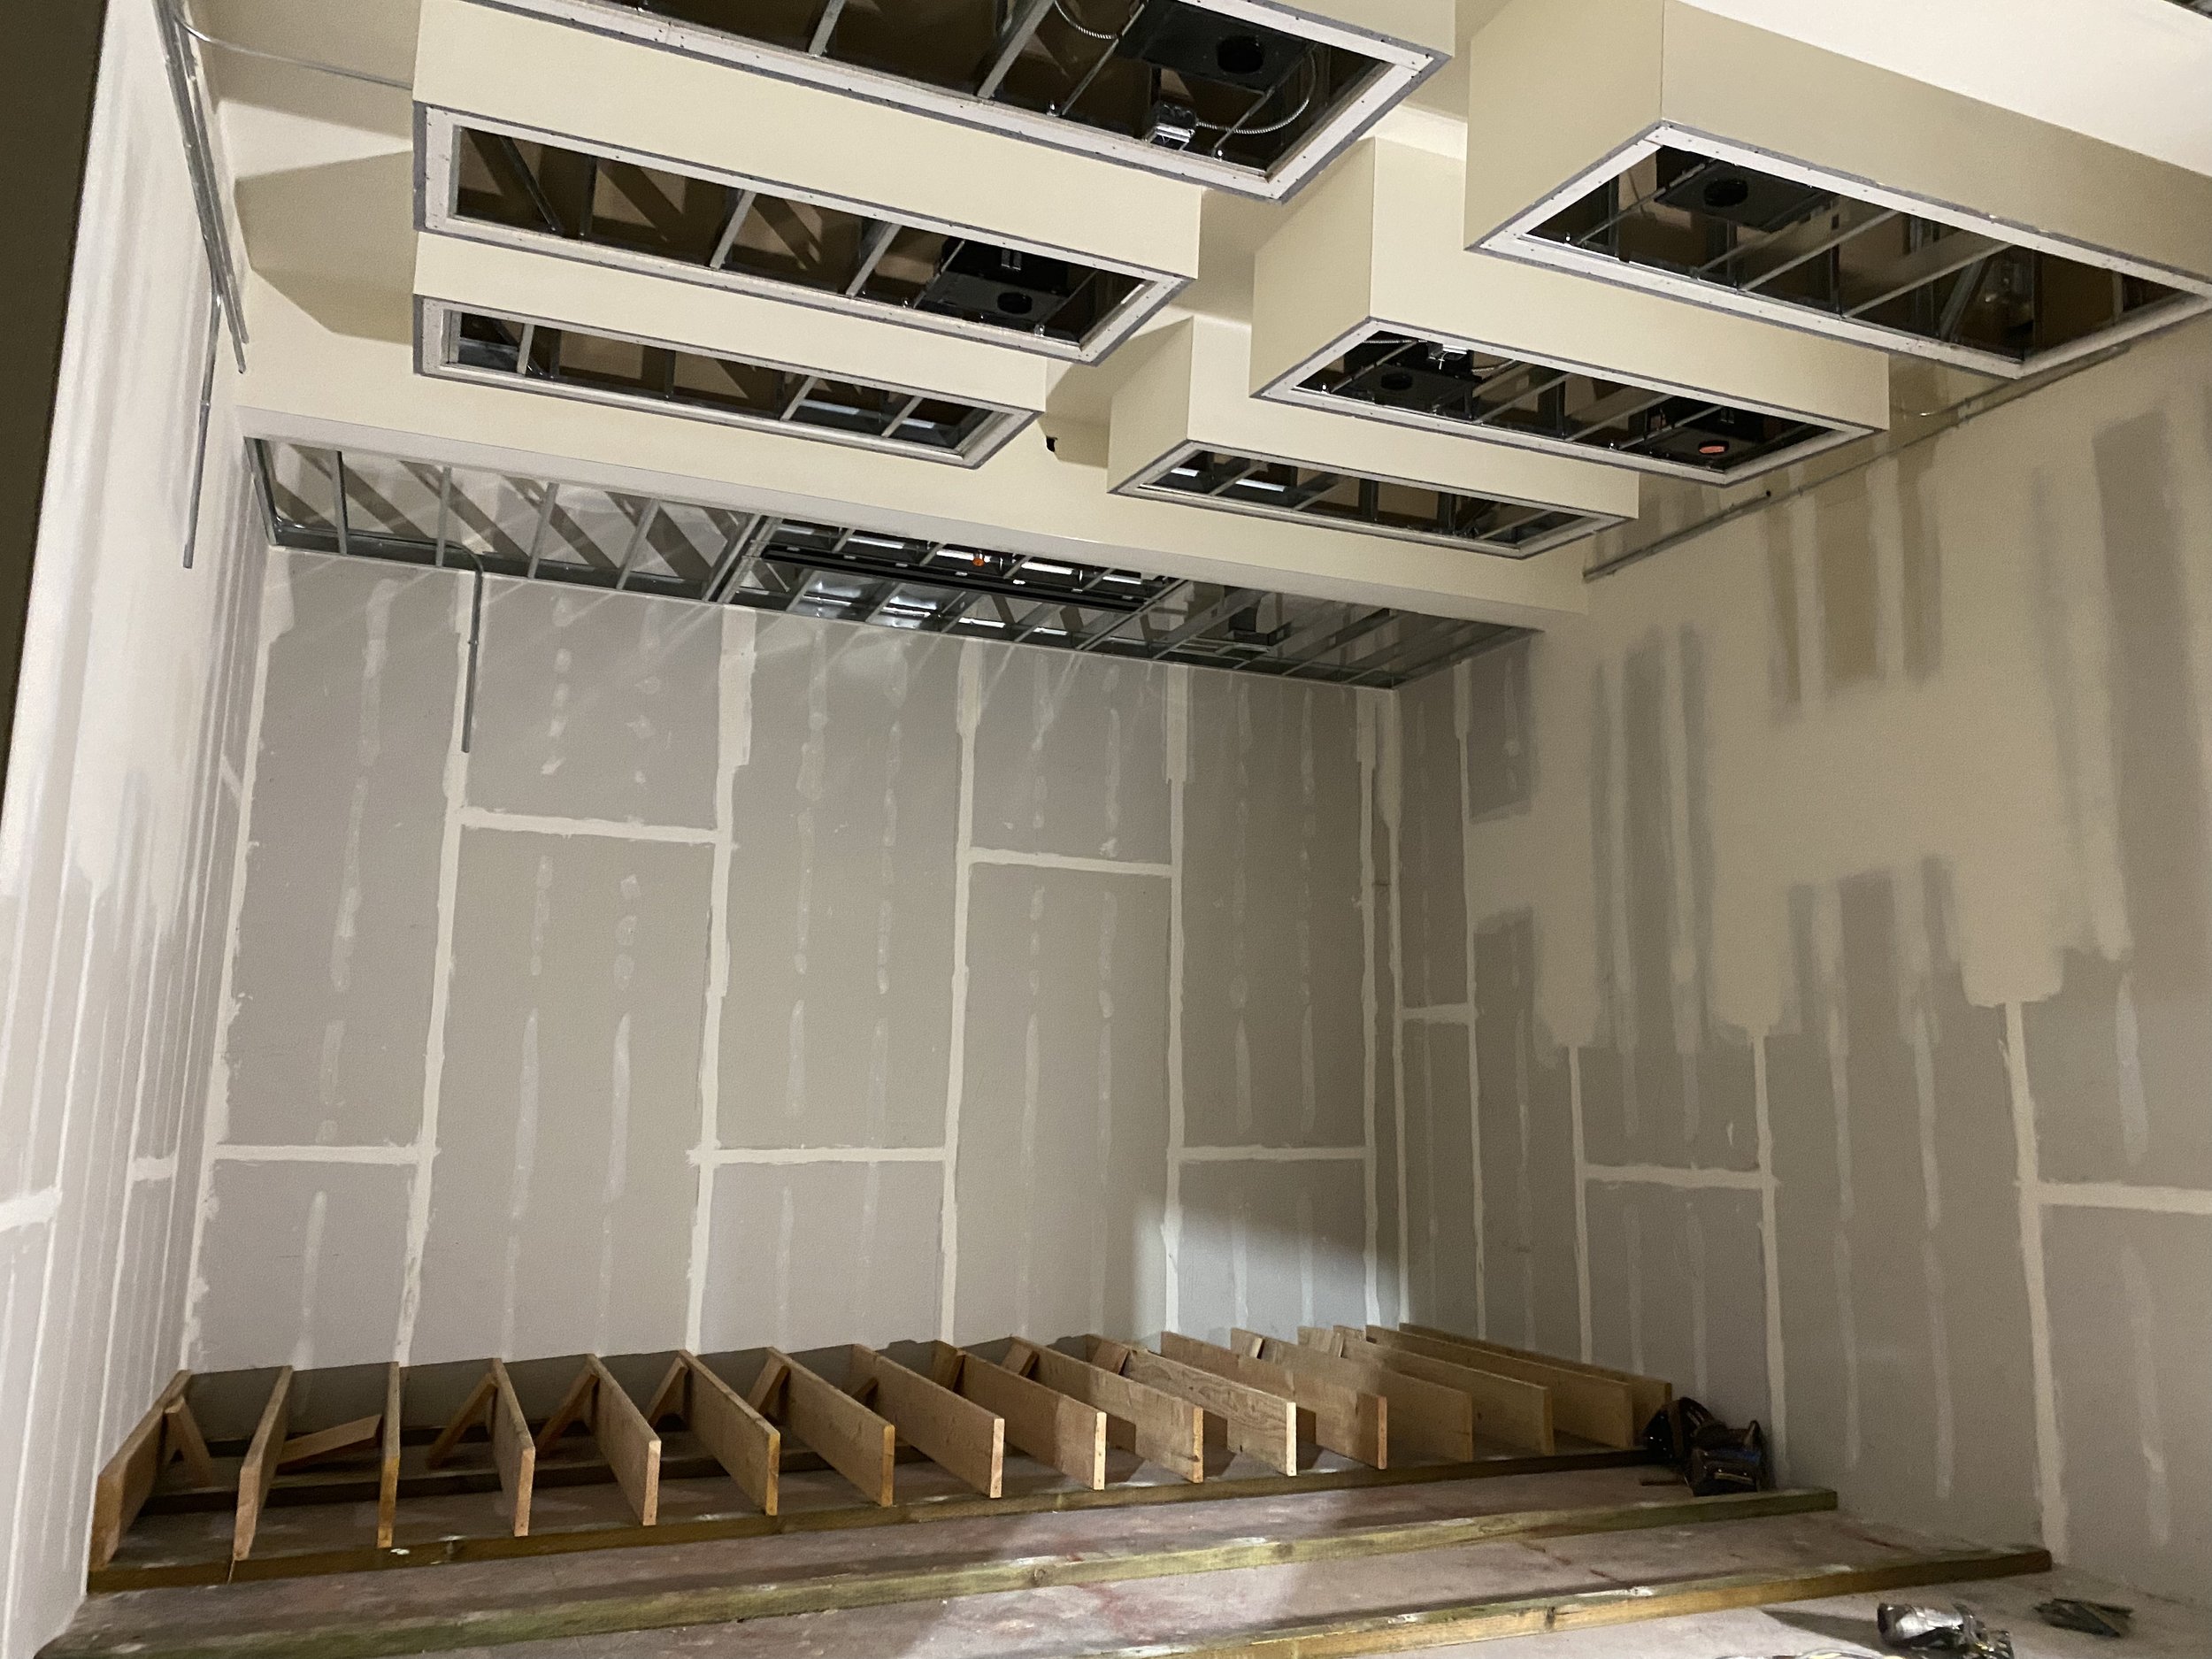
Next, the walls and ceiling were filled with insulation and the drywall went up. You can see the framed clouds in the ceiling which will hold our Atmos speakers, lighting for the mix desk and client desk, and absorbers over the mix position to catch a key first reflection point. The front and the back of the mix stages have soffits holding HVAC plenums. The air will enter in the front and be sucked back out the back to allow for constant movement of air even at low (quiet) speeds so everyone stays alert and there are no cold spots.


Finally, surface mounted conduits were run on top of the drywall to carry electrical to our lights and audio cables to our 7.2.4 Atmos speakers throughout the room. All conduits are surface-mounted to avoid unnecessary penetrations in the acoustic envelope. Plus, the fabric will cover everything, so you won’t see them.


This week, the risers are being built: one step up to the client desk, and then another step up to the client couch and chairs in the back of the room. Concrete floors will remain in the mixer area of the stage to give the room a snappy feel. We opted for diffusers in addition to absorbers, plus the concrete floor to give life to the acoustic space. We wanted a clean playback, but we also didn’t want to feel like we were playing our mixes into a vacuum.

Soon, we will finish the concrete floors in the front of the room, install carpet on our risers, hang the diffusers, absorbers, and bass traps, and then wire the room! The final step will be adding our fabric wall system on top of it all and painting the finishing touches. Here are mockup images from our architects of what the finished spaces will look like. Our plans have evolved since these with even more design details, but our three Atmos mix stages should look pretty close to these beauties! Stay tuned for the true “after” pics coming soon!

