If you've spent a Fourth of July in Los Angeles, you know the city transforms into one giant fireworks show. For sound designers, it's also one of the best opportunities of the year to capture unique explosions, whistles, crackles, and distant booms for future projects. In this post we’ll take a listen to the ambience recordings I captured and how to process them to make them library-ready.
So you’ve just recorded the coolest sound out in the field, but it’s buried underneath environmental sounds like distant cars, planes, humans, birds, insects etc… How do we isolate these sounds and minimize that background noise? This is NOT another Izotope RX post. Instead we’re going to talk about a common yet sometimes forgotten audio processor that can help reduce your noise floor and make these recordings more usable.
You’d be surprised just how “quiet” raw gunshot recordings can sound without any processing. When played back dry, the recordings sound like weak little pops, lacking detail and punch. But with some basic processing, we can turn those thin pops into powerful, rich, cinema-ready gunshot sound effects.
As sound editors, it's crucial that we approach our edits with the mixer's needs in mind. In previous posts we’ve covered how to deliver clean, organized edits to help streamline the mixing stage. But what about processing to remove additional steps for our mixer? In this post, I’ll share simple but effective techniques to tidy up your sound editorial without causing a headache for the mixer down the line.
With a seemingly limitless number of plugins at our fingertips today, it's easy for the most rudimentary tools to go under appreciated. Among the Avid stock plugins, one of THE most frequently used, yet lesser discussed is the 'Reverse' AudioSuite. This tool is as simple as they come, but what it lacks in bells and whistles it makes up for in creative potential. Today I thought I'd discuss a few ways I like to use it and demonstrate with examples.
Whether you’re a seasoned field recordist or just getting your feet wet, you probably know by now it’s not the cheapest hobby. It’s a niche market that requires very specialized equipment and accessories, so it’s no surprise these companies charge an arm and a leg for their products. In my experience, when it comes to the most important pieces in your kit, IE recorder/mixers, microphones, etc, investing in the best gear your budget allows usually pays dividends in the long run. But with accessories like a synthetic fur windcover, I’m curious to see if we really need to spend $100+ to achieve satisfactory recordings. To me, it’s more important to get out in the field and start recording rather than waiting to afford the perfect setup. So with that being said, let’s try making a DIY windcover!
It’s been some time since we’ve discussed the art of designing backgrounds here on the blog. Although backgrounds aren’t the sexiest food group in the sound editorial process, they’re absolutely crucial for providing the foundation of storytelling for every scene.
When done right, the music montage is a wonderful thing. The right song or classic bit of score can bring an audience to an entirely new emotional level. If you don’t believe me, go watch the first ten minutes of Pixar’s “Up,” some incredibly devastating filmmaking; a master course in montage.
So how do you approach music montages in your mix? What are some of the basic techniques and rules to follow? Below, I lay out my best practices.
As a re-recording mixer, it’s our job to create the final sound balance for a film or TV project. Here at Boom Box Post, we edit and prep both the dialogue and sound effects. The score however comes directly from the composers. The music has been both organized and mixed but it’s now our job to fit it in to the rest of the soundtrack. That’s where this post comes in. For this Music Mixing Basics posts, I’ll be covering the steps we take to work the score into the final mix.
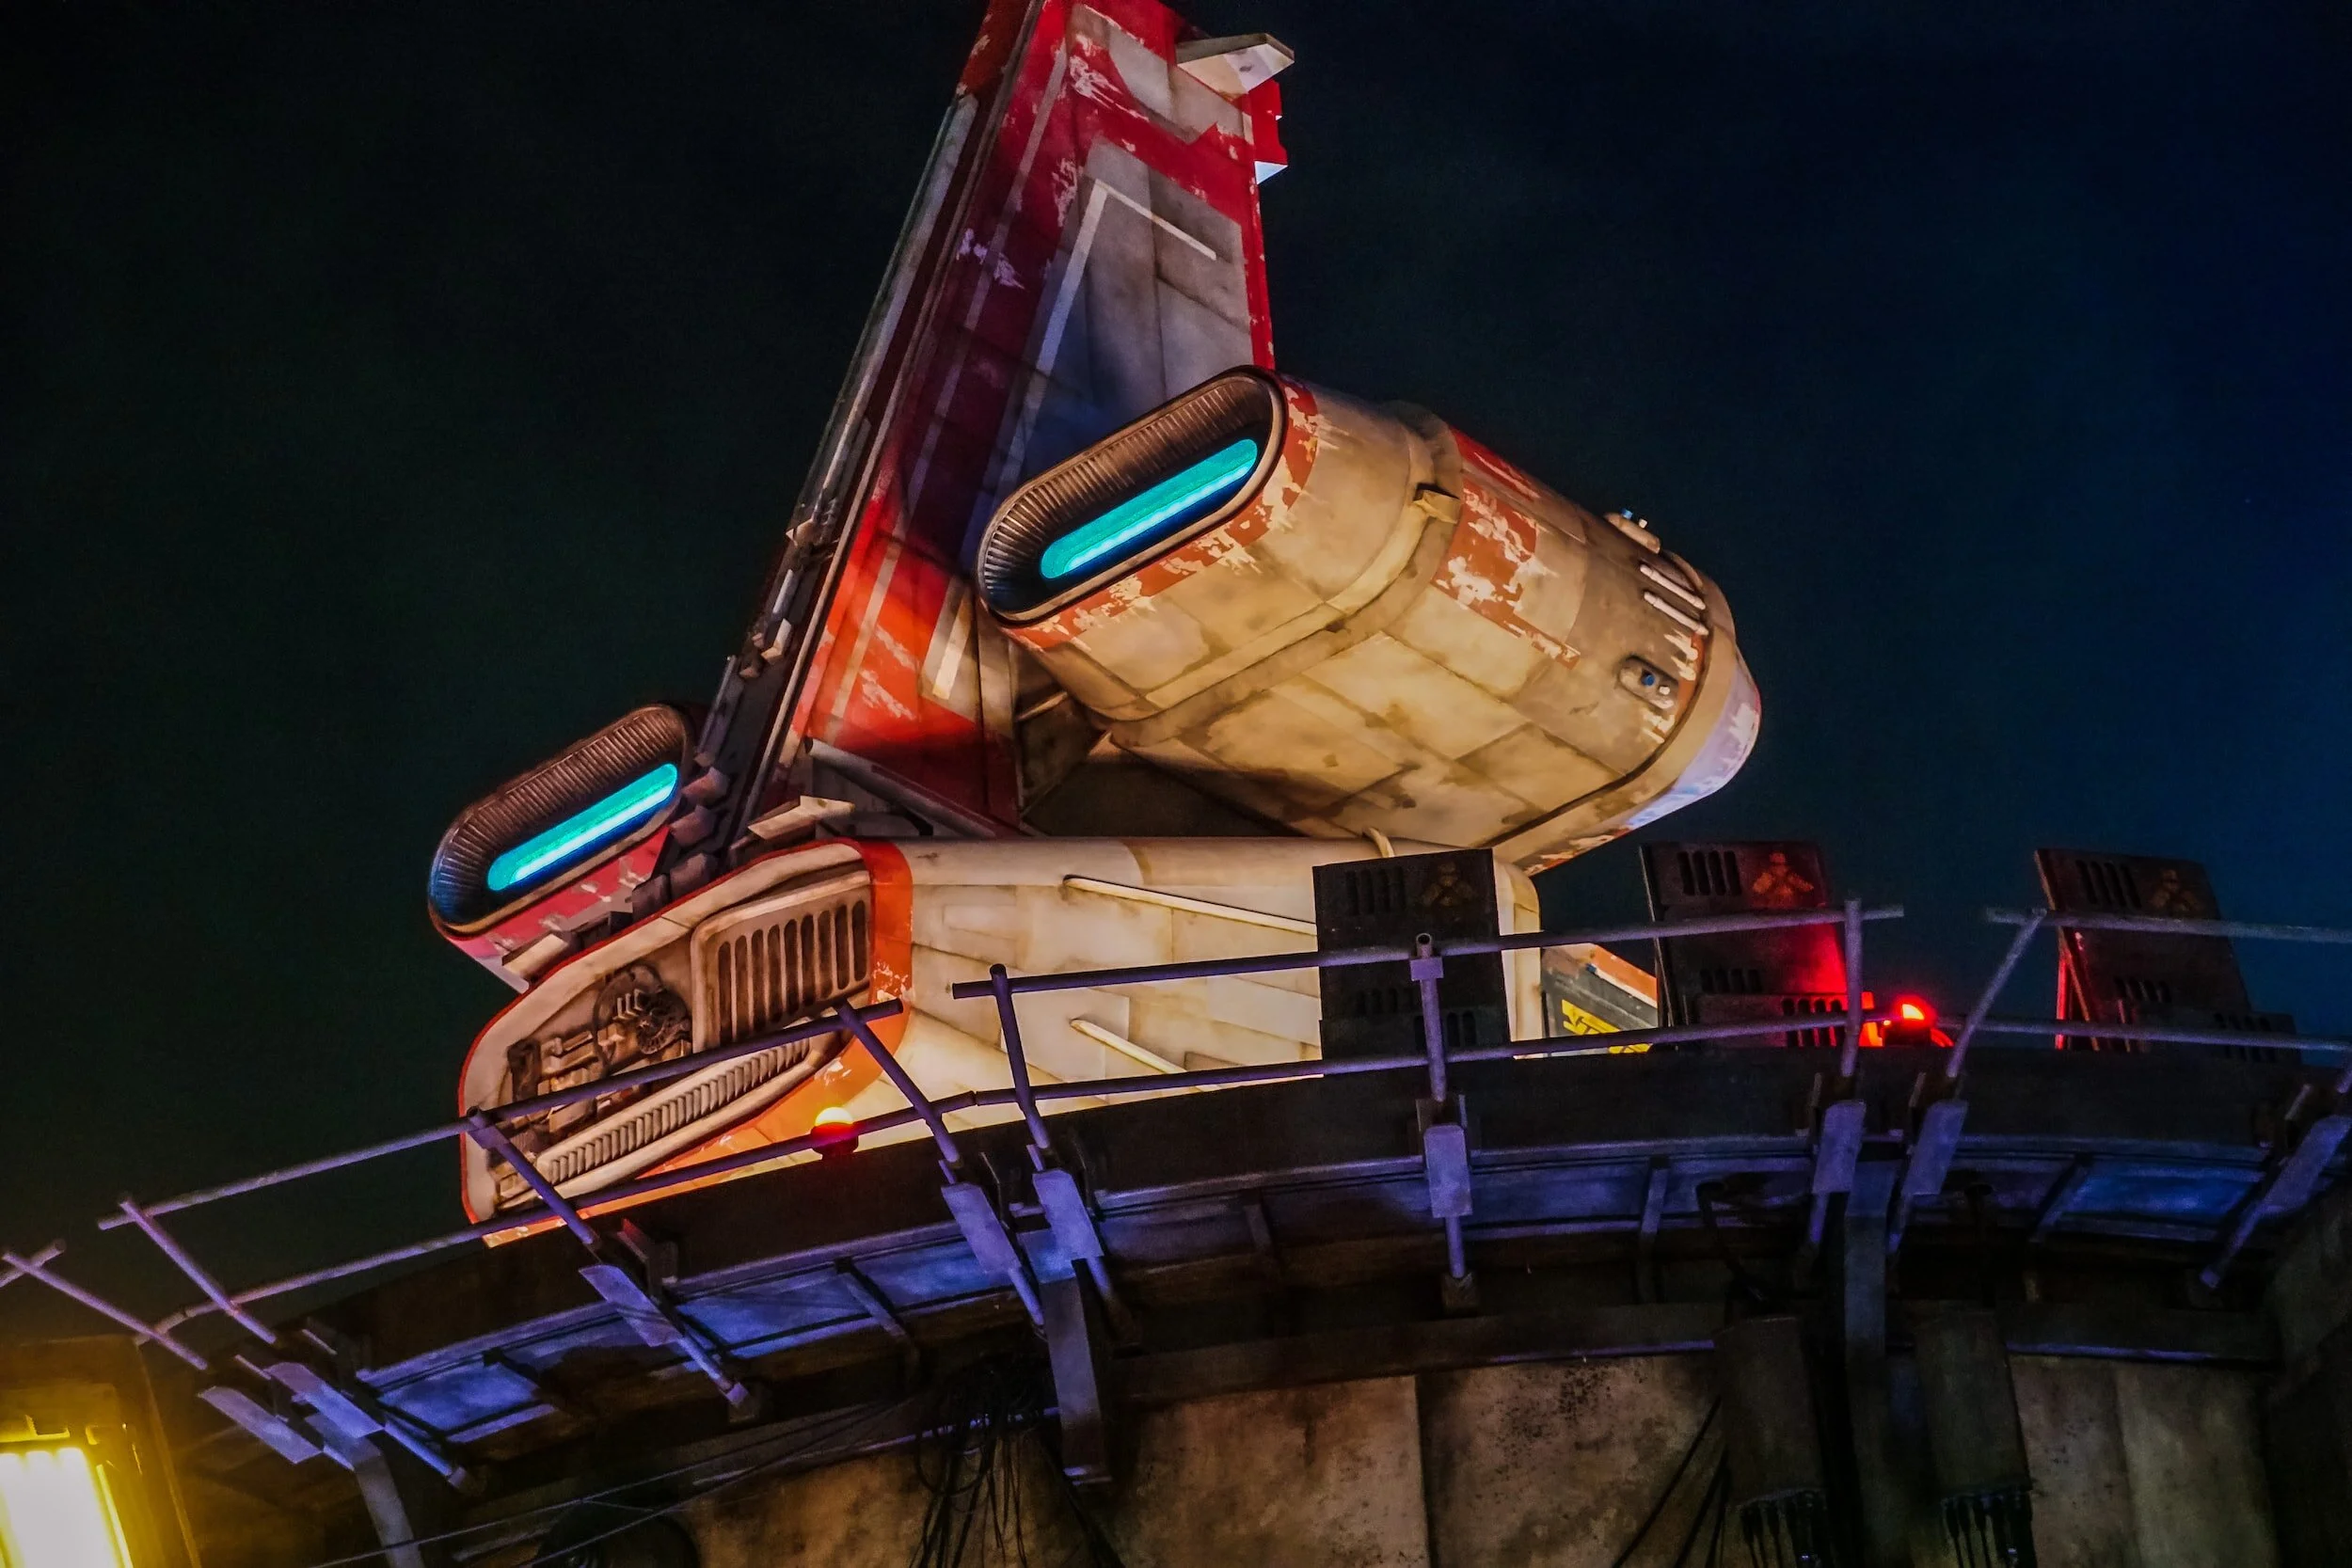
I’ve had it on my list to test out some software synths that I had purchased a while back. My week was light so I fired up The Riser by AIR. One of the presets had a really interesting oscillating sound and the functionality of The Riser made it easy for me to play around with pitch and speed. I found myself creating crazy spaceship engine sounds (very likely influenced by having just watched the movie) and thought, “this would be a great blog post!'‘
Creating futuristic anything is fun, but where to start? Here was my process for creating a full compliment of entirely original (and useful!) futuristic spacecraft engine sounds.
On past projects I have received critiques that my wood creaks for various items (doors, wooden chairs, footsteps, etc) sounded pretty weak and ill-fitting for the scene. The sound libraries I had access to at the time really didn’t offer many quality options, so I decided to do some research on how I could capture better creak sounds. I stumbled upon a couple videos online of Foley artists using what is called a creak box. This Foley instrument allows the user to more precisely create and perform creaking sounds quite easily. Below I’ll be going over how I put together a couple different creak boxes of my own and what I learned in the process.
Whether you are a newly graduated student or you are a long time picture editor looking to delve more into sound, jumping into the freelance world can be intimidating. You might have some money saved up and are wondering where to allocate it to best help you freelance career. After securing a decent computer and a Pro Tools subscription it can be easy to fall into the mindset that you need the newest shiniest plugin or the fanciest piece of hardware. While plugins and gear are nice to have and can indeed help you, finding quality sound effect libraries to add to your personal sound collection is perhaps a more worthwhile endeavor.
As a total productivity nerd, I’ve tried many different applications to speed up my workflow and day-to-day task management, both at work and at home. I use a mix of Todoist, Spark (email), Google Calendar, and Slack. After constantly jumping back and forth between all of these applications, I decided to look into a way to make them work together more efficiently. After researching different websites, I decided to try out Zapier, an app automation and integration tool.
Recently we published a blog that listed classic toon sound effects and the emotion they convey to the audience. Our hope was that it would be a helpful tool for anyone stuck in the editorial process. This is part 2! Continue reading to find out how our editors approach the following emotions with classic toon sound effects: Scared, Disgust, Love, and Bored.
Job interviews are a challenge. As much as you know you deserve the job, those interviewing you do not (yet). A job interview is a sales pitch; the product you are selling is yourself. No worries, you know yourself really well! You just need to bring your story forward in the best way possible.
Comedy is alive and well in both live action and animation. And as any sound designer worth their salt knows, our job is to support the script which often means supporting comedy. The best sound design can highlight what is already great about the picture and elevate it further by helping the audience to focus on it. So, how do we support a funny moment without dipping into our toony toolbox?
From Back to the Future to Edge of Tomorrow, the concept and interpretation of “interdimensional time jumping” has been a key feature in sci-fi films and TV-shows. Such out-of-this-world story telling requires the support of creative and exciting sound design to immerse the viewer into the stretching of space. Read on to learn how Jessey builds a unique time jump sequence.
I remember the first time I was on a mix stage, the mixer broke out this software tool that made it look like we were about to decode The Matrix. There were grainy shades of orange in crazy designs. What was I looking at?!?
That tool was the Spectral Repair module from Izotope RX and it’s a modern marvel.
The art of foley is an amazing magic trick that can really bring a production to life. If your project has the budget for custom foley, I would highly recommend taking advantage of skilled professionals to help bring this element of your soundtrack to life. That said, not everyone has the money and access to a professional foley team. Never fear! You can be your own foley team with incredible results. All from the comfort of your home, at little to no cost.
We’ve all been there. Upon starting a new project you’re told “picture is locked” which means there will be no further edits resulting in timing changes. Projects that stick to this promise are a dream. However, the reality of creative work is that it’s ever-evolving; and that includes picture editorial. Timing changes are inevitable, but they don’t have to be dreaded. With the right process, conforming to new picture can be relatively painless.