

WRITTEN BY JEFF SHIFFMAN, CO-OWNER OF BOOM BOX POST
We recently finished construction on our brand new post sound facility in Burbank, CA. One of our top priorities was to have multiple mix stages under our roof, all of which ready for Dolby Atmos. The way we saw it, we might as well be on the forefront of this emerging format. Building a mix stage is challenging enough, but adding in the extra Atmos considerations meant we would be faced with lots of opportunities to learn. Lucky for us, we are all about continuing to learn here at Boom Box Post! It’s in that spirit that I want to share with you some of the details of our journey.
Facility

It’s hard to imagine now, but this auto-body shop is the new Boom Box Post, pre-construction
To build a mix stage, you need space! For proper soundproofing, you essentially build a room within a room, which means square footage in all directions. Step one was finding a building that worked not only for depth and width, but the necessary height requirements. We saw a bunch of typical commercial buildings with ten foot ceilings that were not going to cut it. Enter 520 S. Verdugo Drive. This auto-body shop was essentially a concrete shell with twenty five foot ceilings. With a little imagination, it was perfect!


Architecture and Acoustics
With the building secured, the next step was to plan out the footprint of our mix stages. Our amazing architects over at Office 42 had us bring them to some of our favorite stages to show them the type of final product were were looking for. With the shape and complex construction details in mind, they determined that we could fit three very sizable mix stages in our space, averaging about 500 sq ft each. With that footprint, our stages could fit a minimum of ten clients; typically more than we’ll ever have sitting in on a review. Each stage would also have a dedicated sitting area just outside it’s doors for clients to utilize.
It was at this point that we recruited our acoustician, Lee Bartolomei. Lee worked closely with the architects to come at the designs from an acoustic standpoint. It’s pretty fascinating just how much can go into properly soundproofing a mix stage. Here are some of Lee’s main concerns.
Soundproofing - quantities, types, and placement
Wall construction and air gaps
Mitigating low frequency transfer through the foundation
Limiting penetrations to the “acoustic envelope”
Specialized acoustic doors
Treatments to minimize air conditioning noise
Limiting projector noise
As you can see, a lot goes into this part of the process. And these are steps you definitely want to get right. The last thing you want is to hit play for the first time in your brand new mix stage and not be happy with the results.
One item I took on myself was working on speaker placement. Dolby has a really cool tool they call the Dolby DARDT (Dolby Audio Room Design Tool). I’ll admit, on initially downloading the DARDT, I was a bit lost. But Dolby set up a meeting with one of their top engineers who was kind enough to run me through the entire DARDT planning process. And it was all free! He explained how you utilize the tool by entering the dimensions of your room and inputting your speaker choices. From there, the DARDT helps you determine the optimal distance from your mixer to each speaker. This was a big help not only in designing the final stages, but in choosing speakers. I was able to toggle through all possible choices of our preferred brand of speaker (JBL), and decide which worked best for each position. This was a very helpful tool. Shout out to Dolby for working so hard to help people like me succeed.
Pro Audio/Computing

I had a rough list of gear I wanted to utilize, but I knew I couldn’t outfit the stages alone. I reached out to Westlake Pro, who put an incredible team together for us. They’d handle sourcing all the gear as well as all of the pro audio and computer wiring; a huge load off my plate. It was at this point that I pitched the team at WLP on building an Atmos stage in the most simple and streamlined way I could imagine. I didn’t want to mess with AVID cards and chasis, separate Dolby renderer computers, and complicated monitoring setups. What if we worked with a single data line from a very powerful Mac Pro to a single piece of gear, taking a lot of failure points out of the chain? I had some experience with the Focusrite Red line of products and figured the 16Line would get us all the I/O we needed, through a single USB-C cable. It seemed like a novel idea, but the WLP team was willing to help me figure it out. When it came to monitoring, maybe there was a Focusrite solution as well? They suggested we go with the Crown Dci series of amplifiers, which allow tuning in the amps themselves, eliminating the ubiquitous but costly London Blu monitor series. Lastly, we would use the RedOne controller as our monitoring hub for each room. I was stoked.
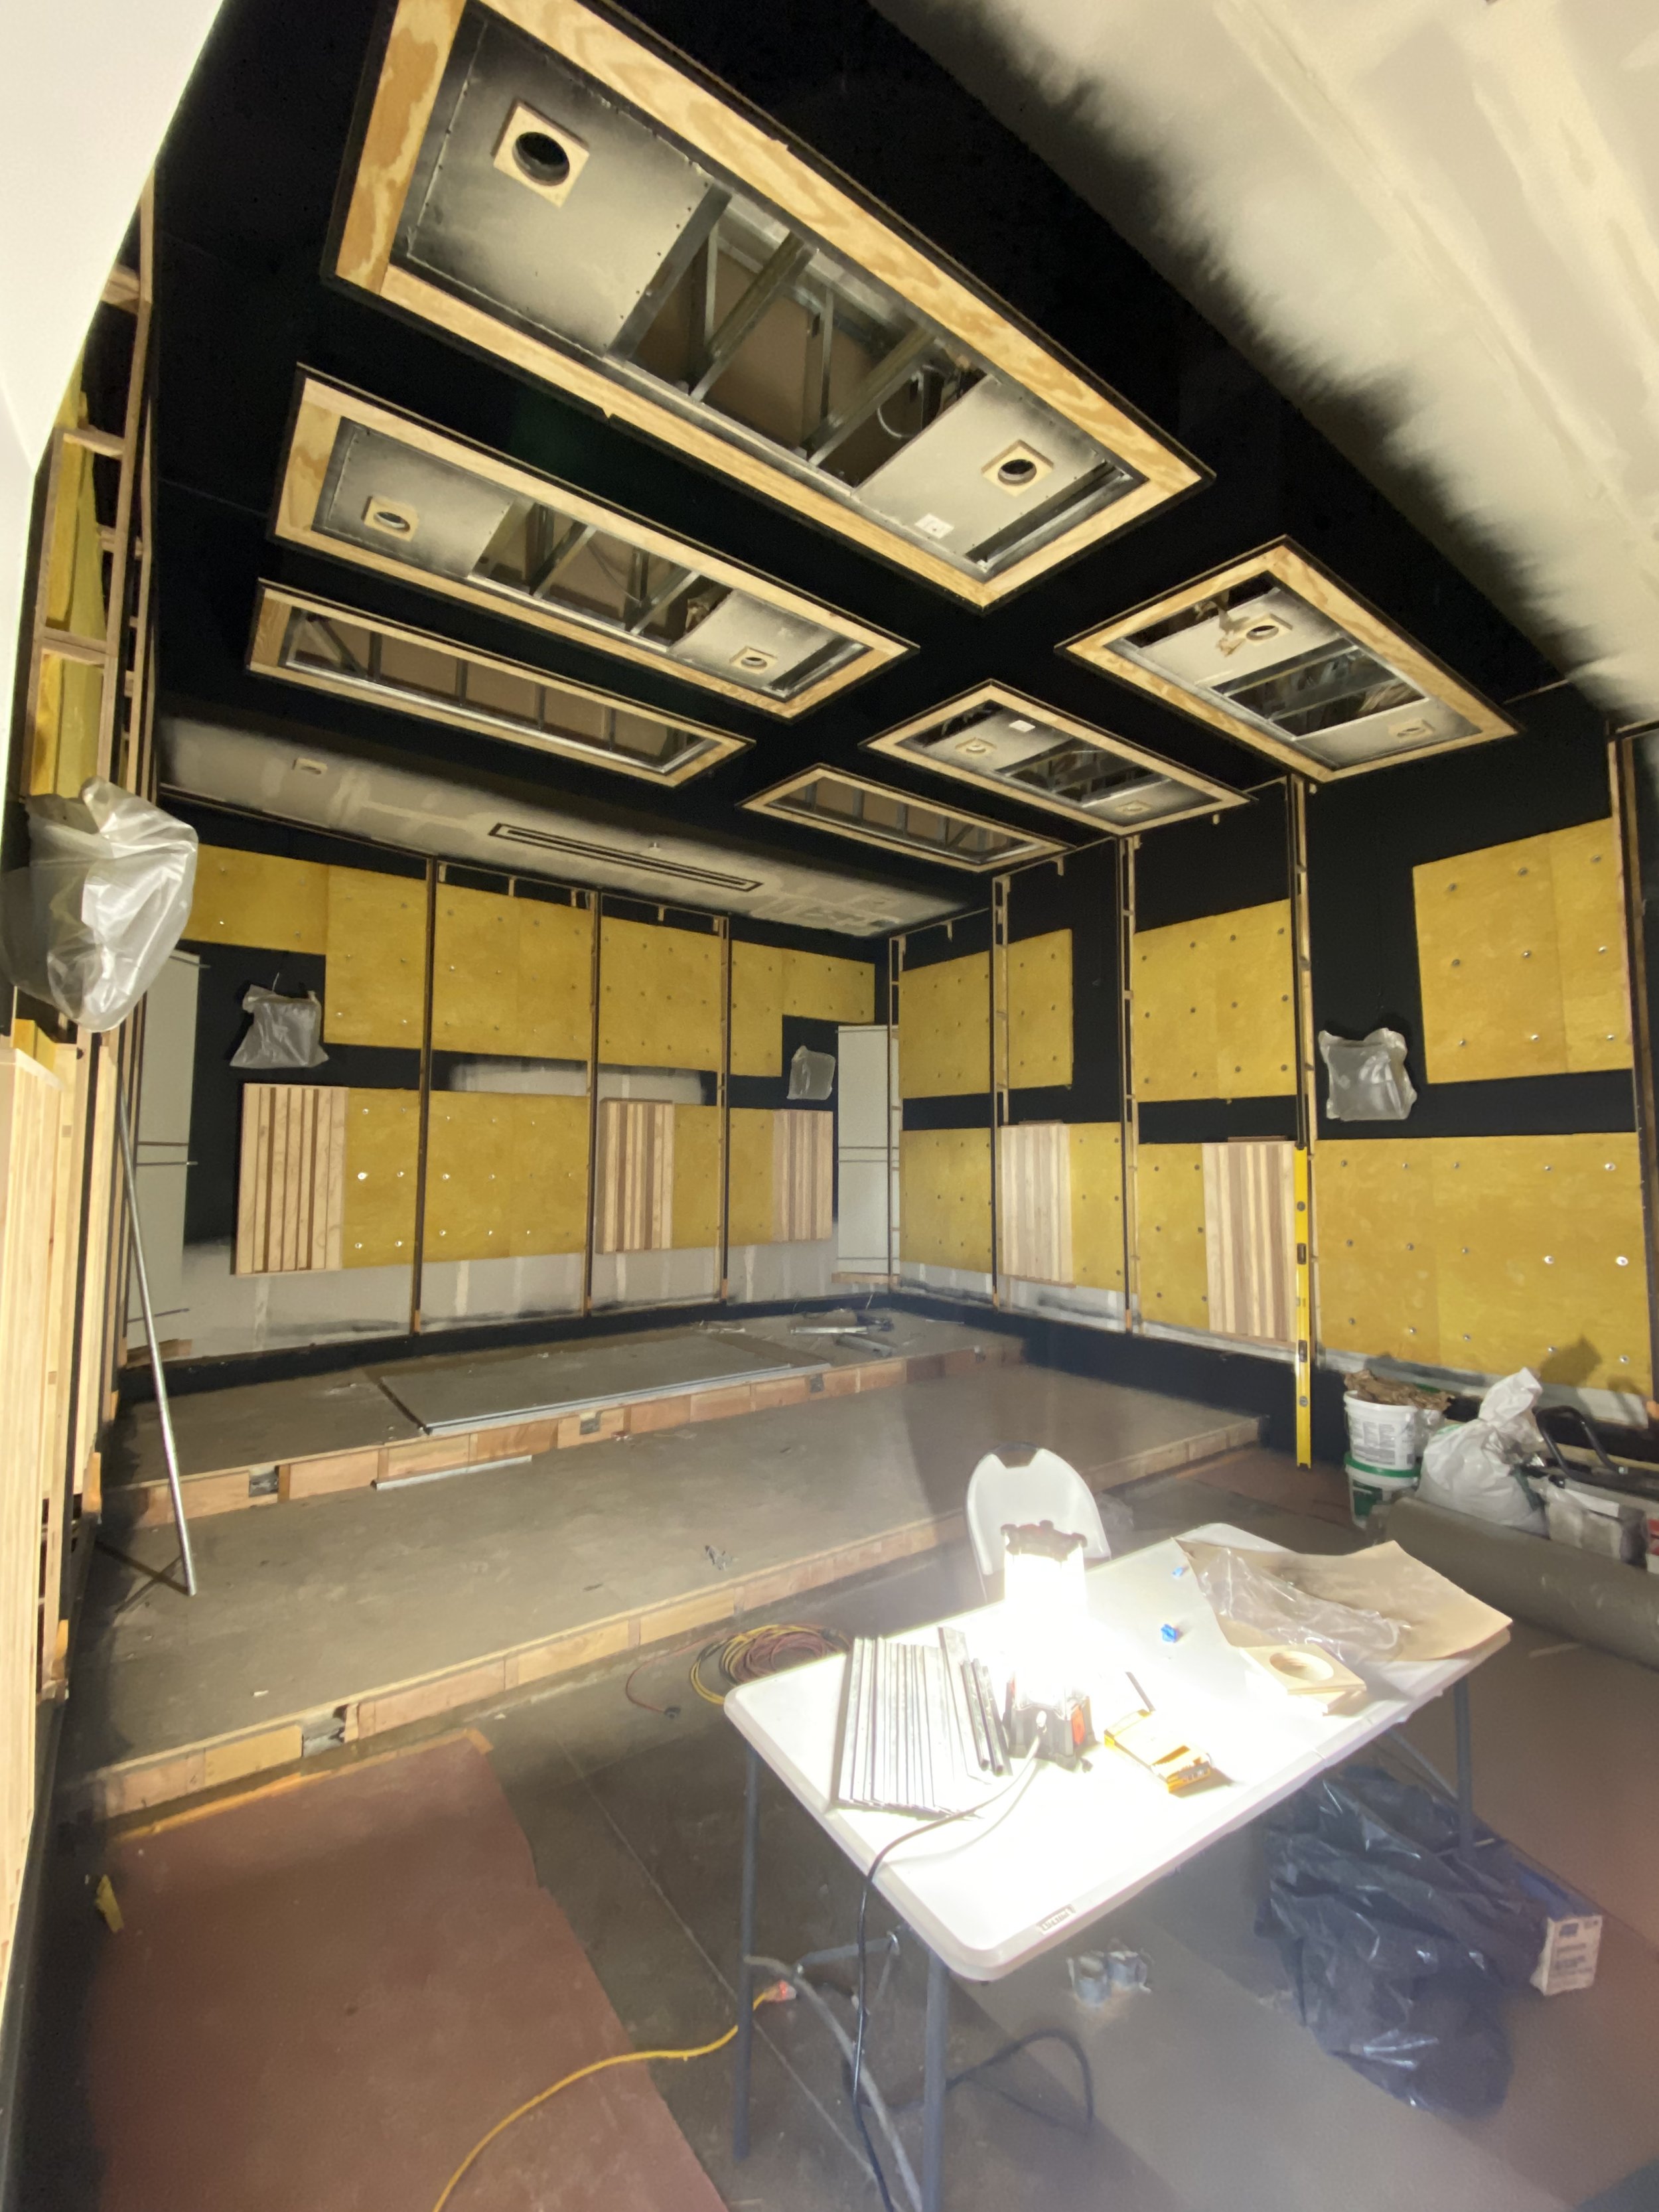
Construction
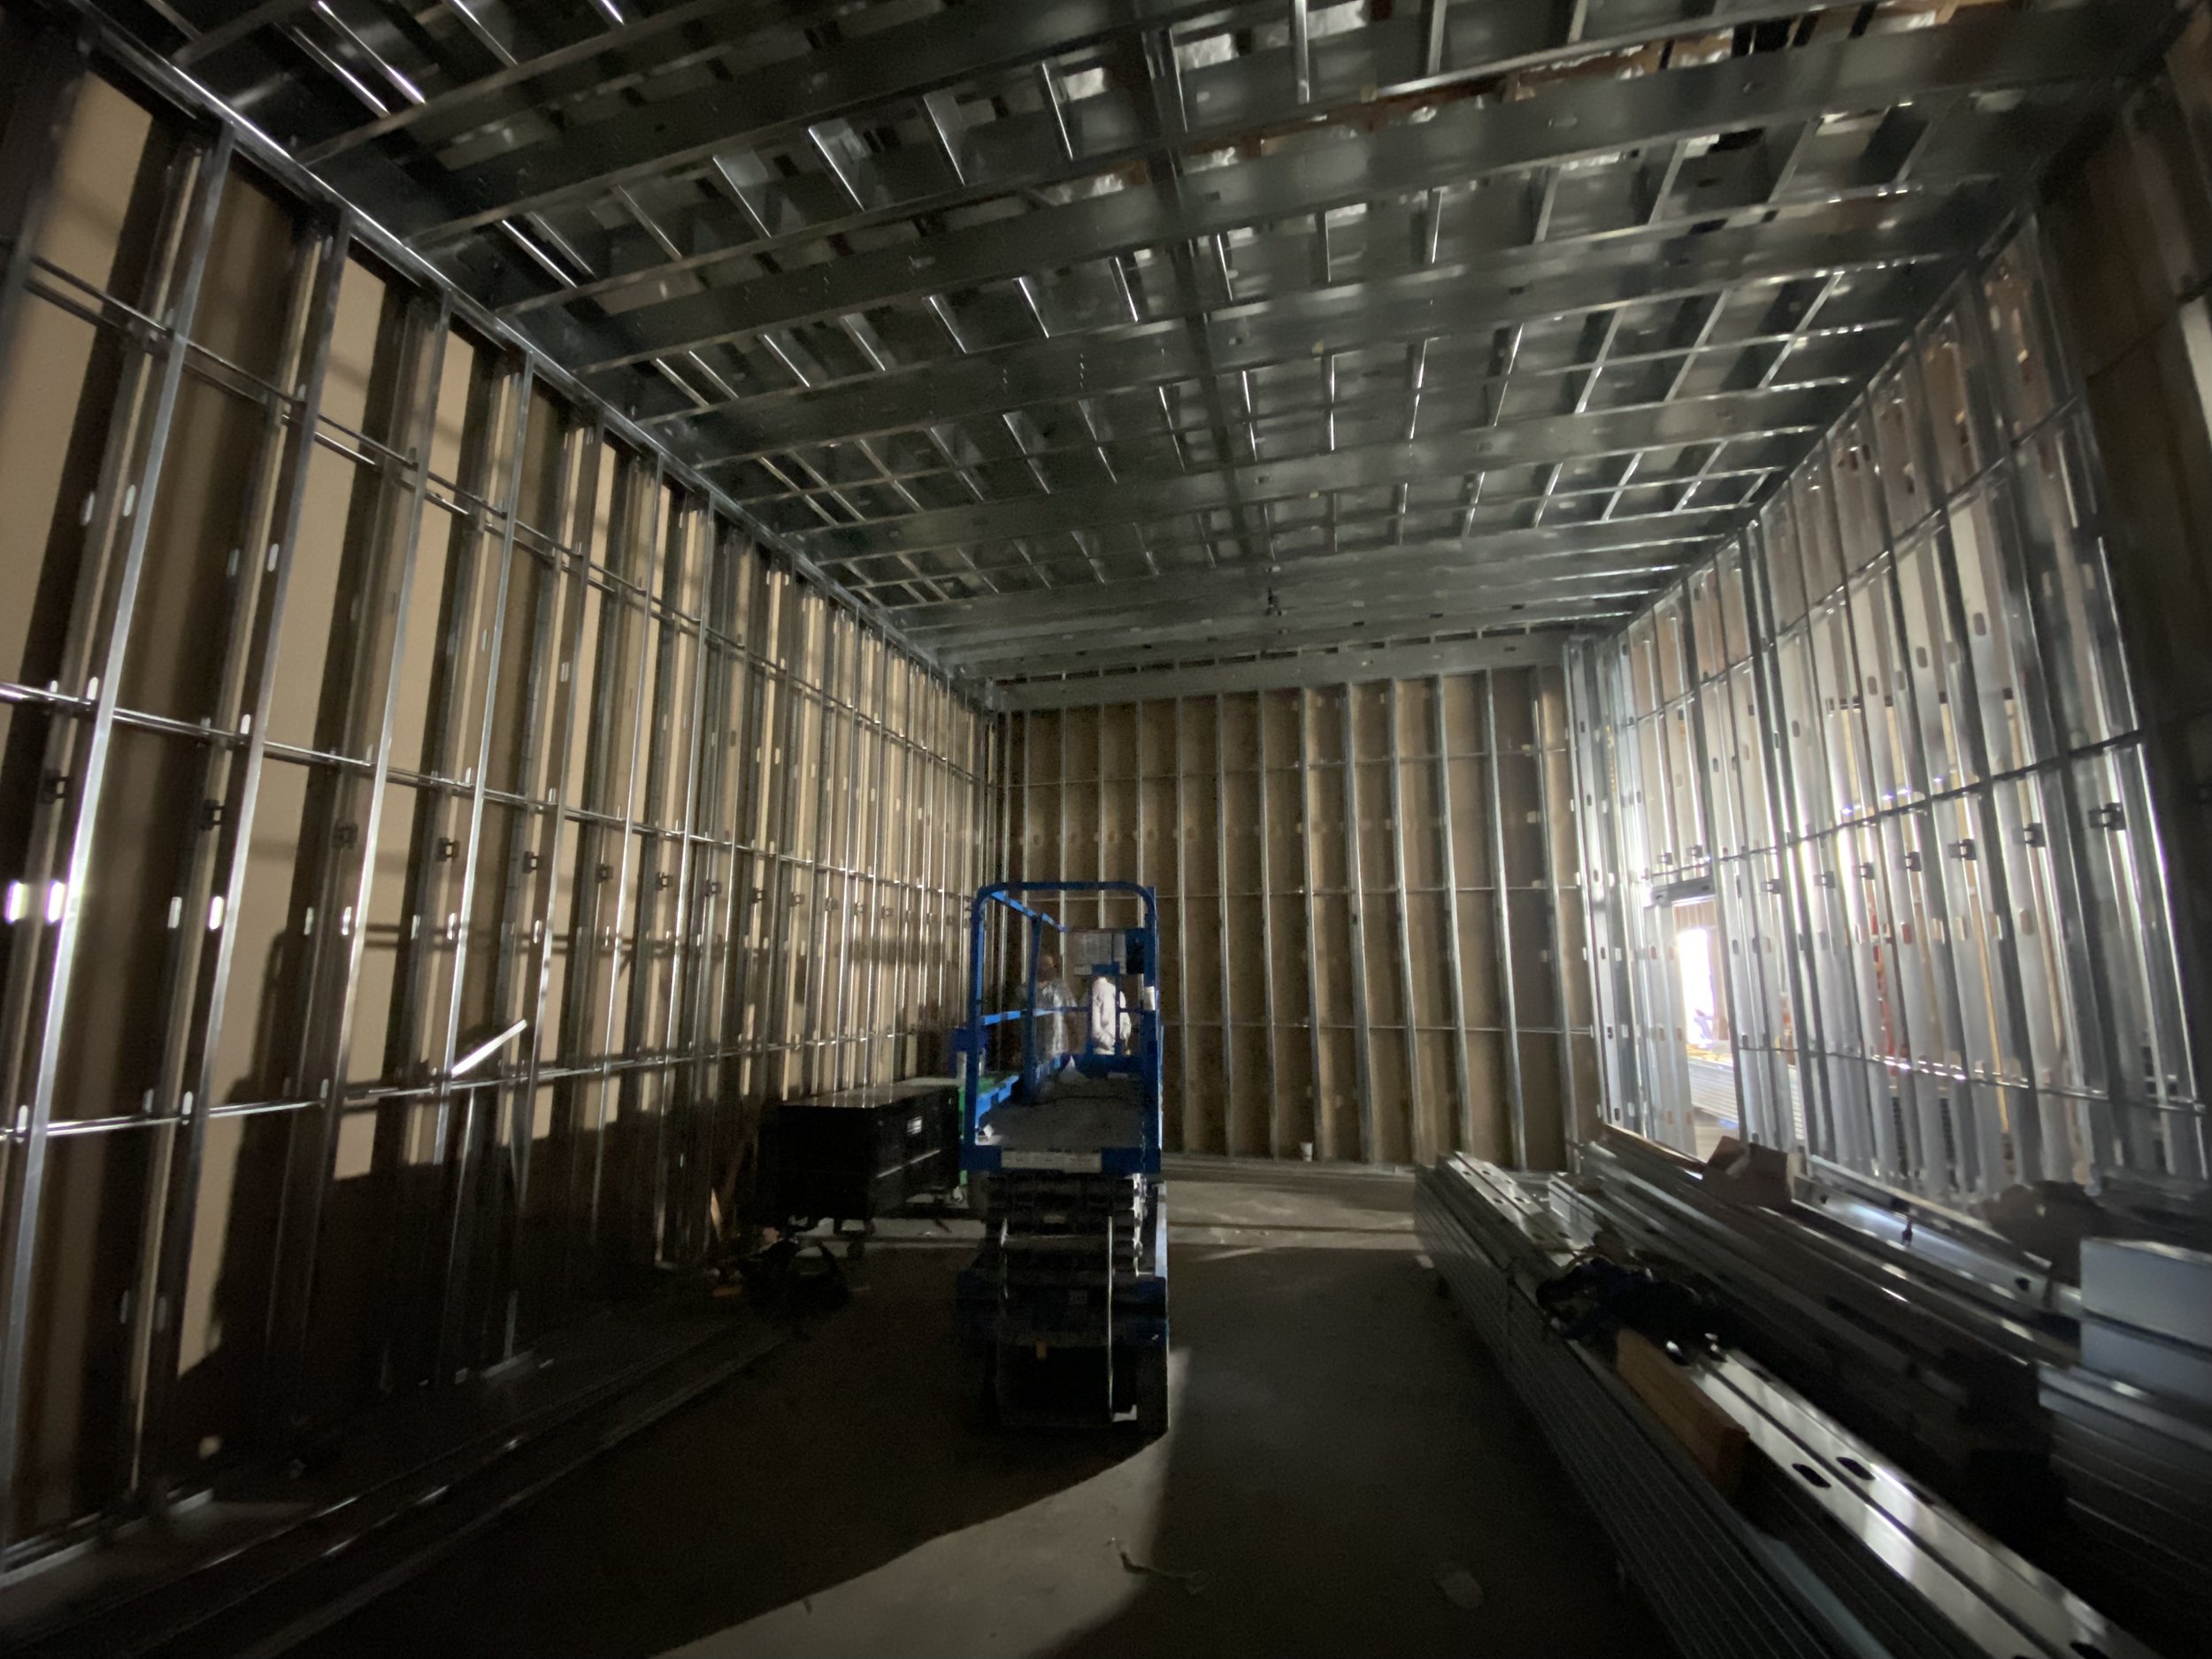
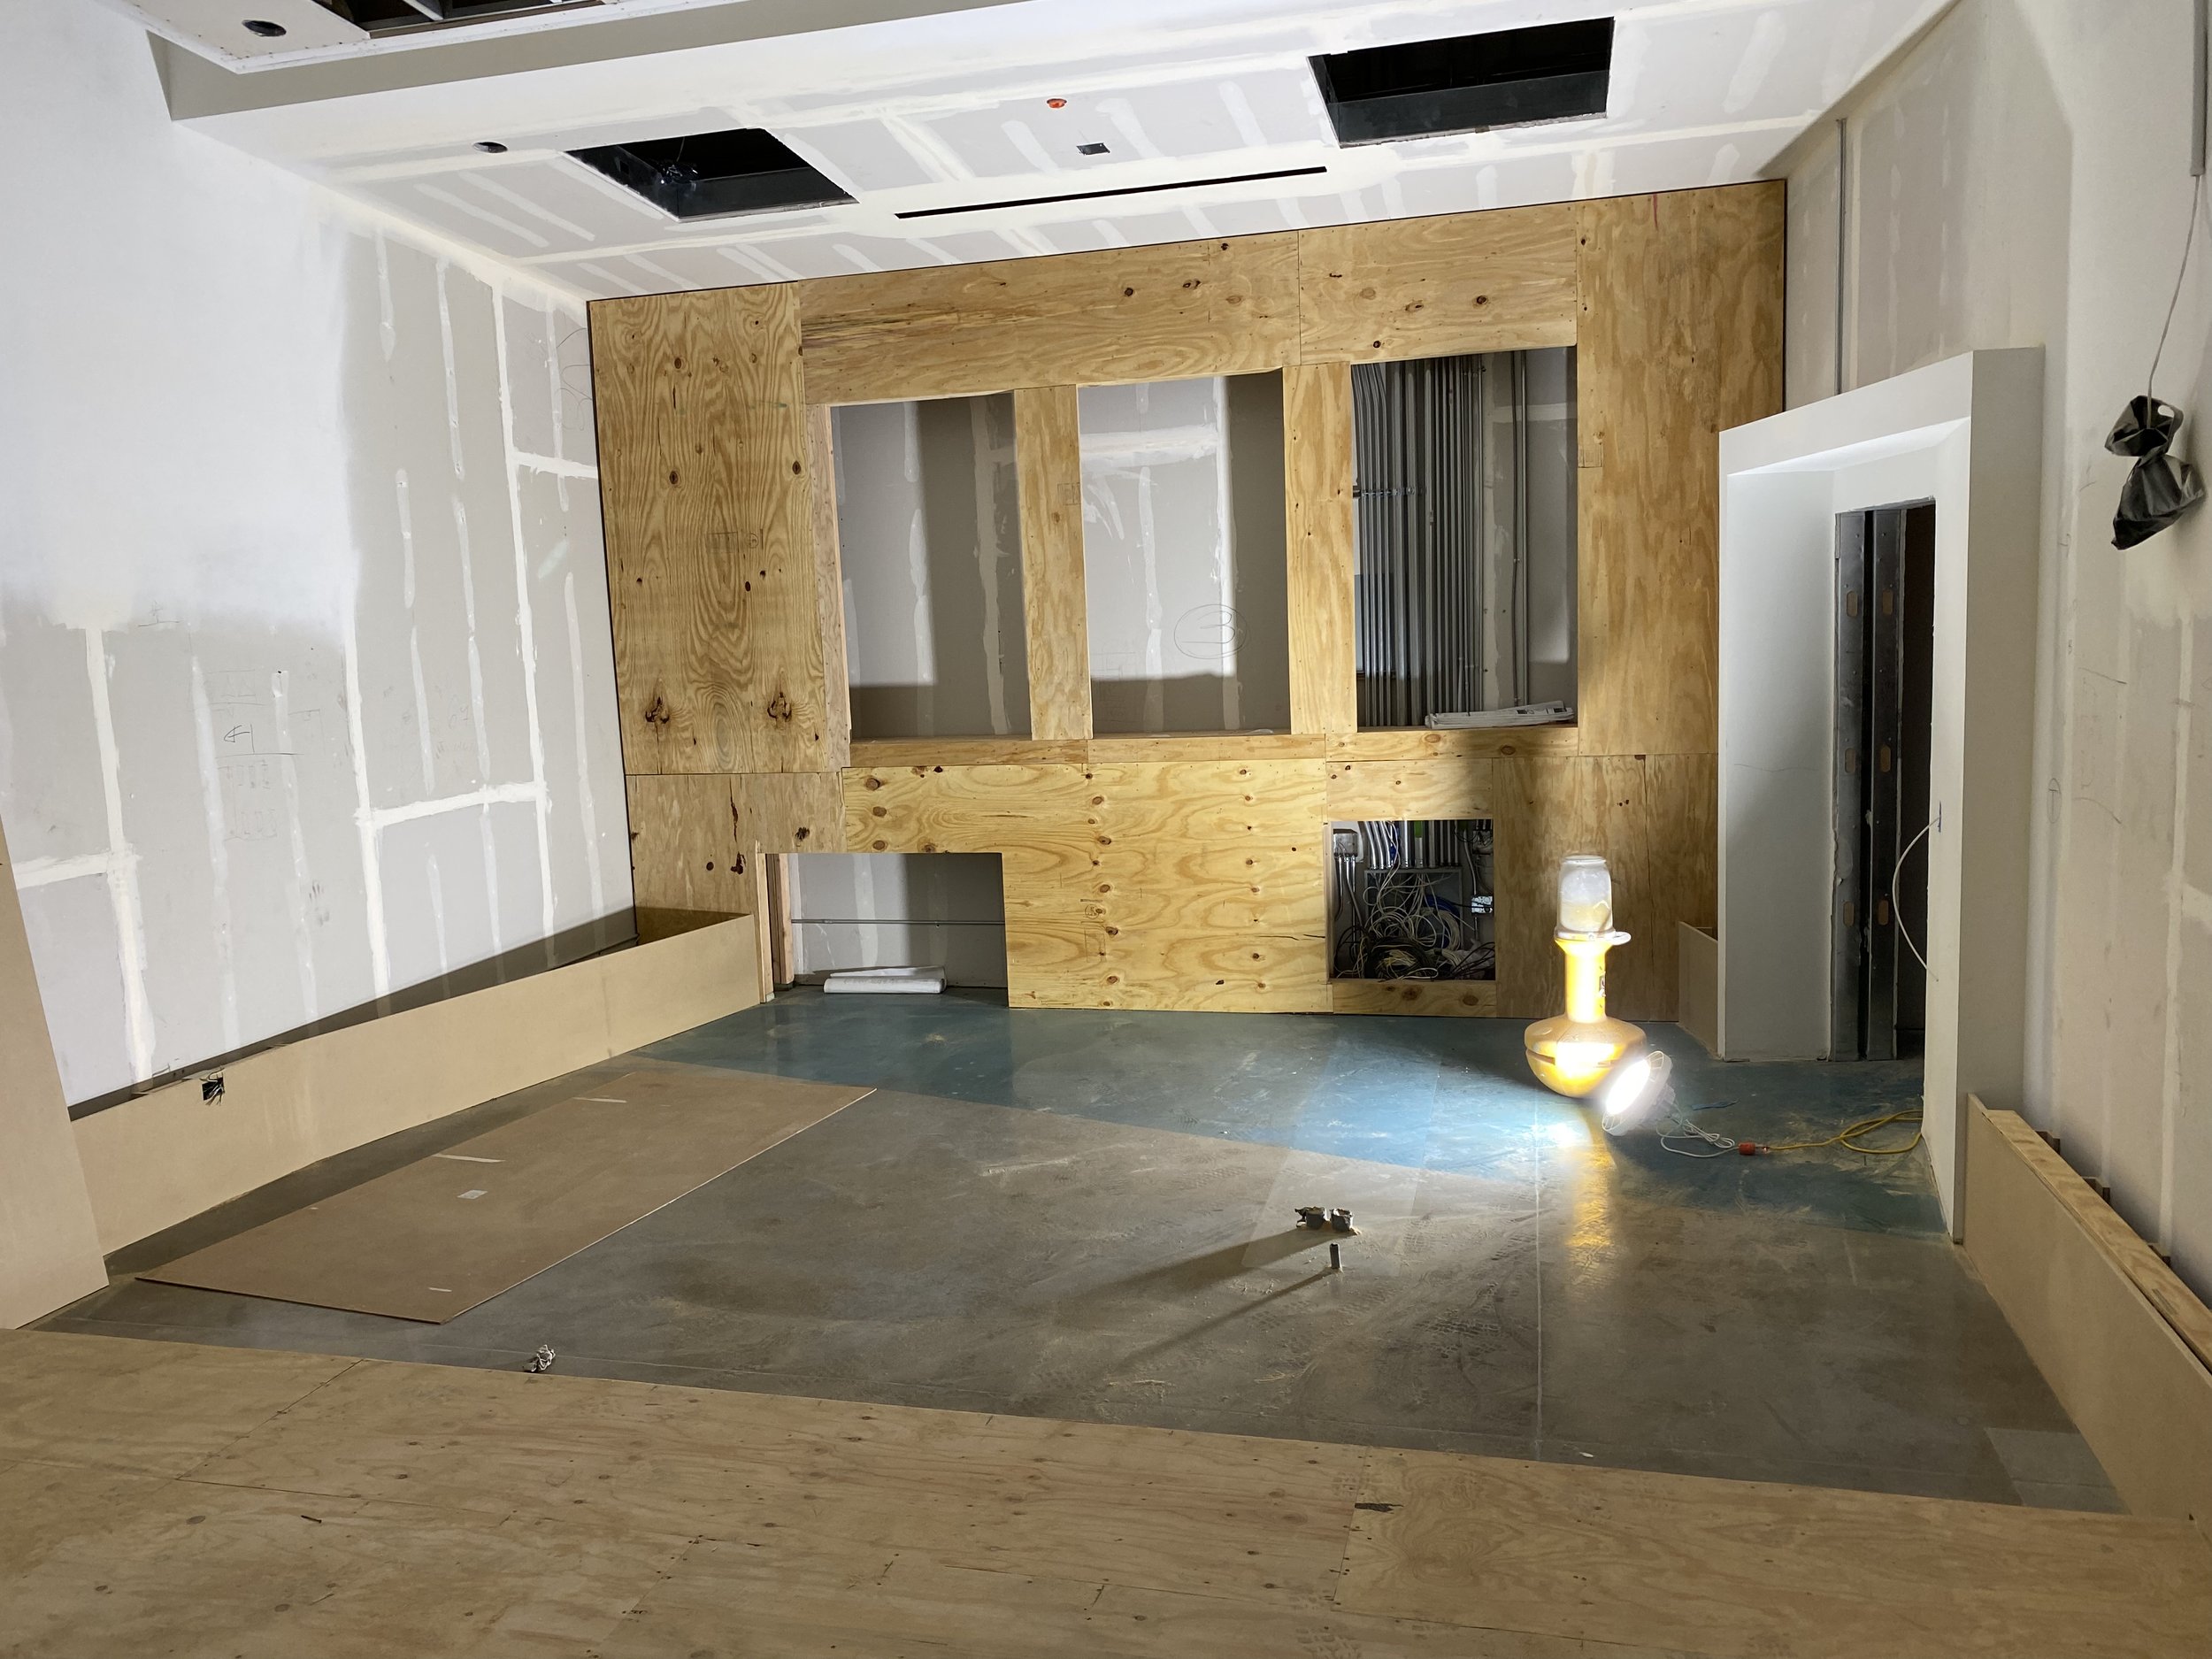
Watching the walls come up on our brand new stages was truly a thrill. The initial framing, the walls within the walls - it was all so exciting! Countless meetings at each step ensured we were getting exactly what we needed in this very complication build. Here are a few highlights.
Saw cutting the concrete floor over a foot down to create an underground channel for wiring on each stage
Rattle testing by playing low frequencies through a loudspeaker to identify and fix any potential rattling (lights, screws, etc)
Testing
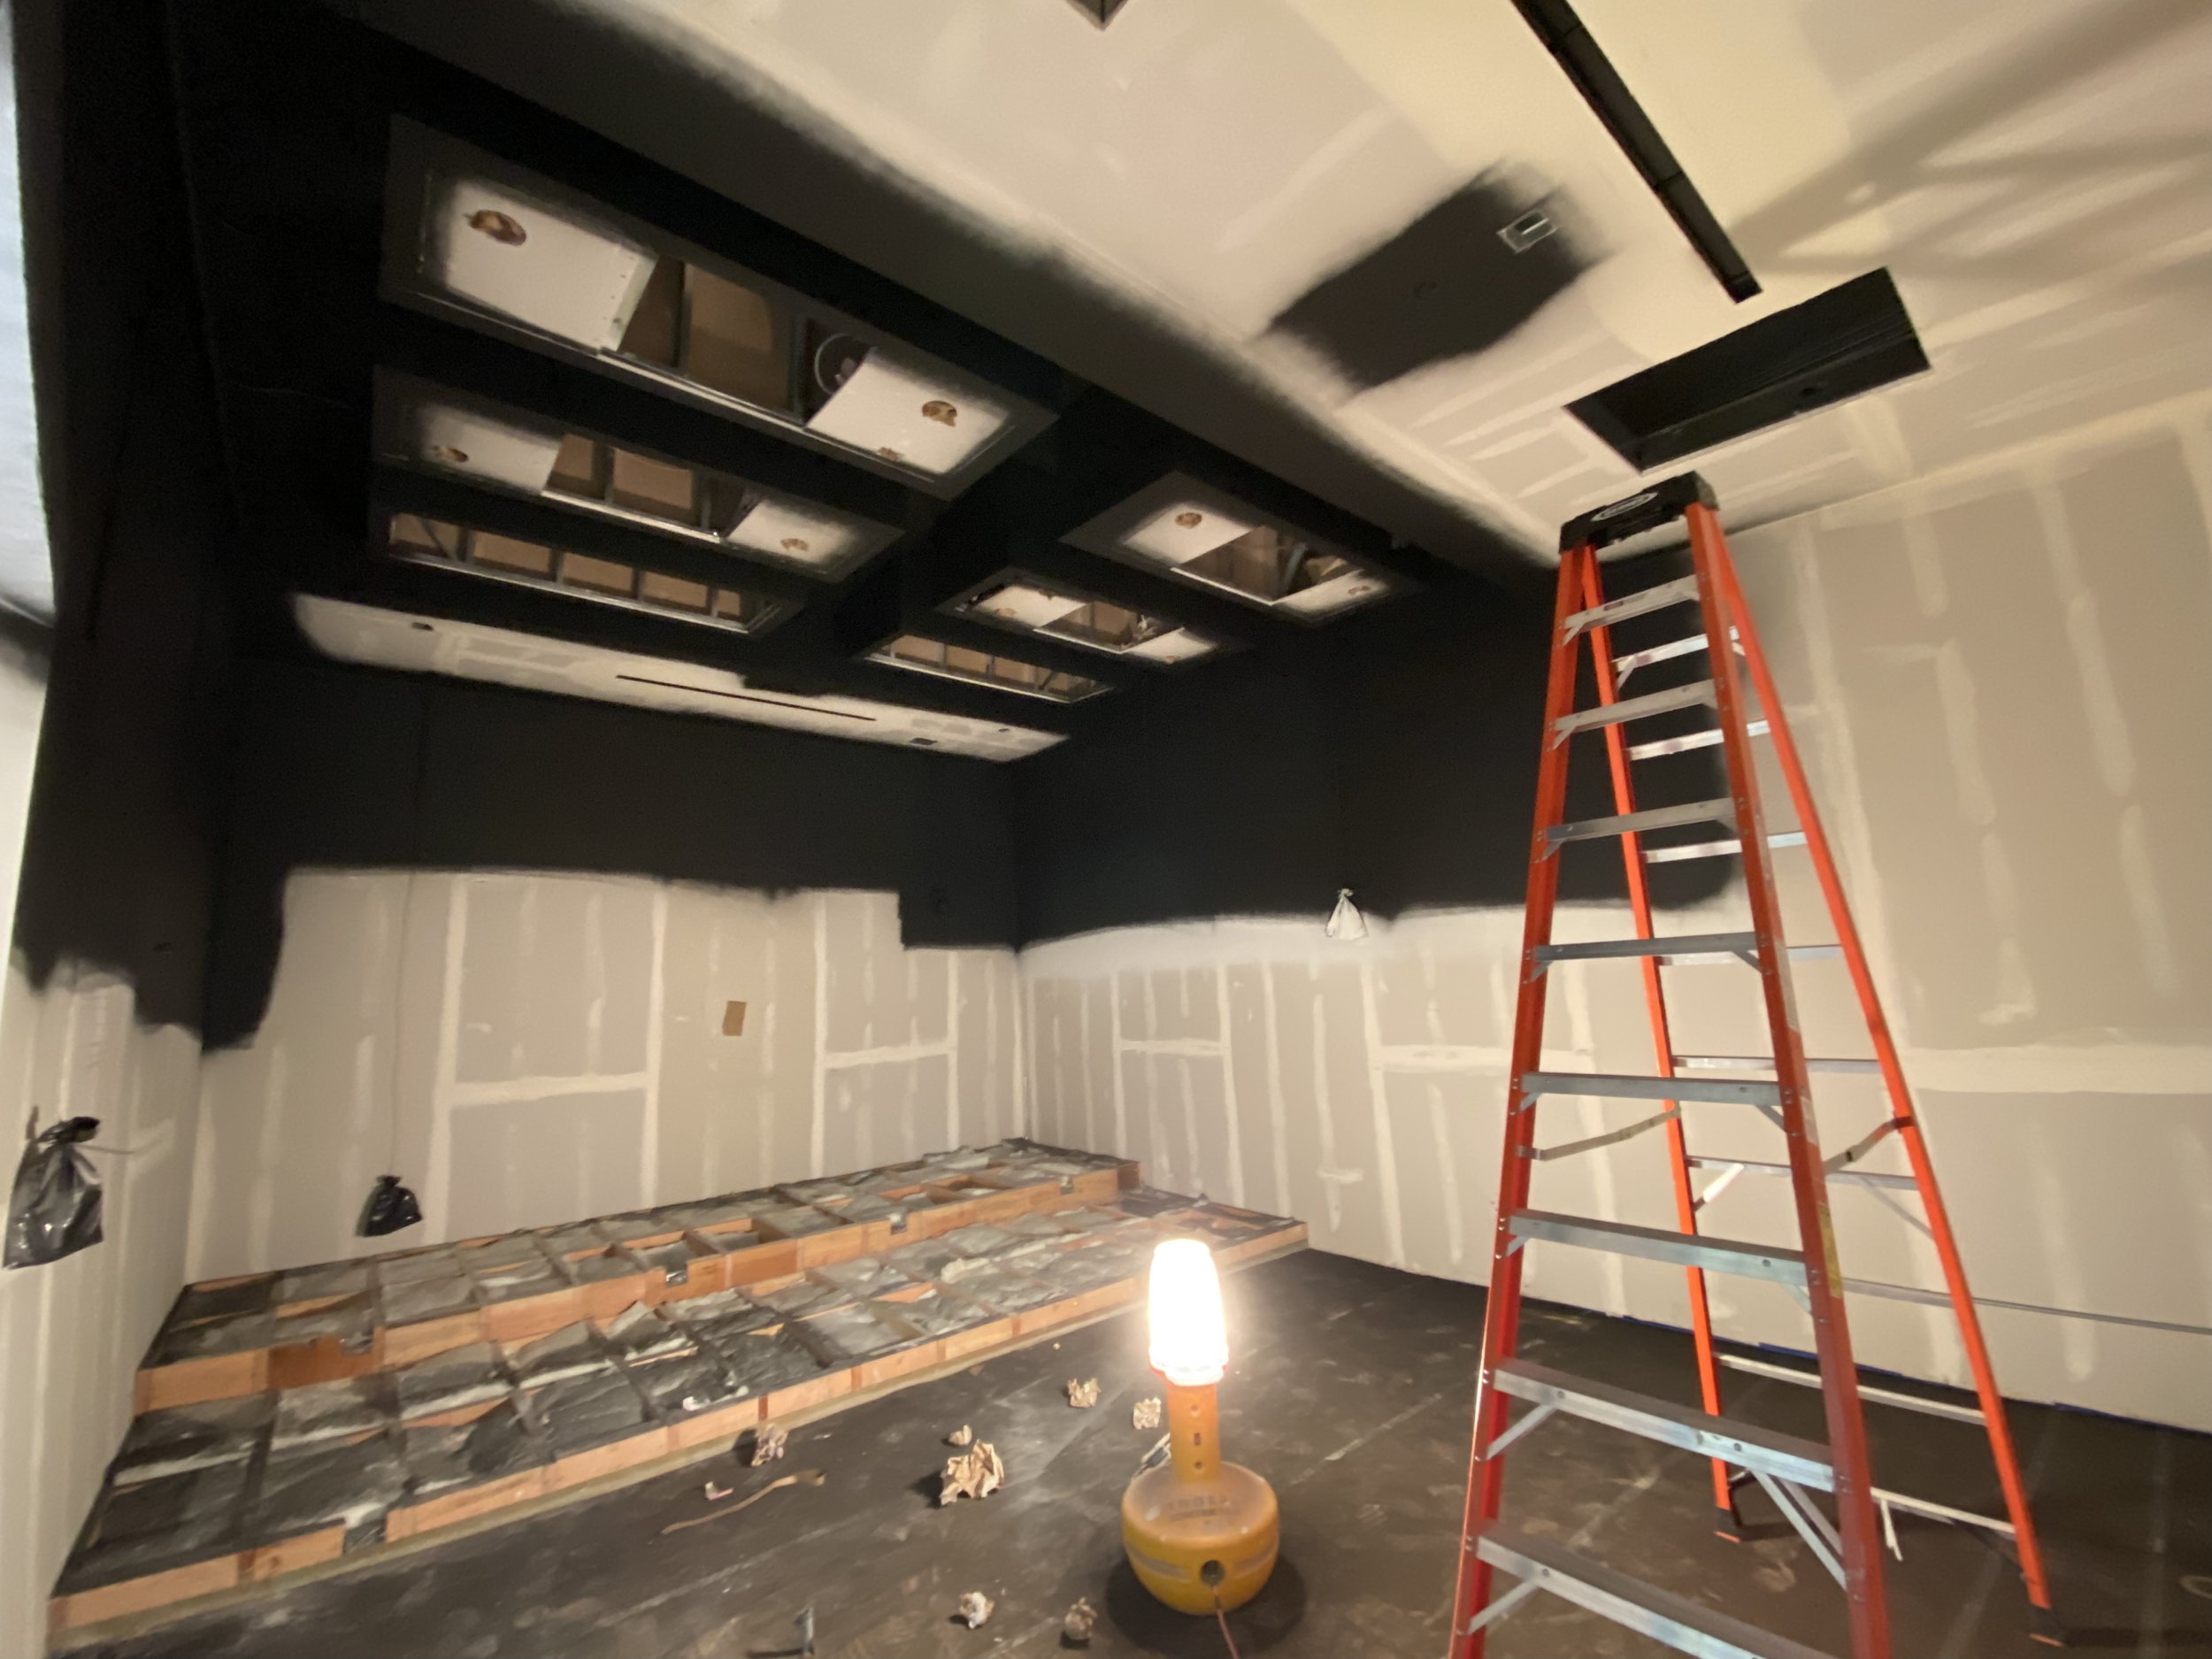
Wall treatments before fabric installation
Once the basic construction was complete but before the acoustically transparent fabric goes up on the walls, we needed to put the rooms through their paces. We called up a few mixes we knew well to see how the rooms responded. To our extreme relief, the sound was stunning. We couldn’t believe how well the acoustic treatments had performed.
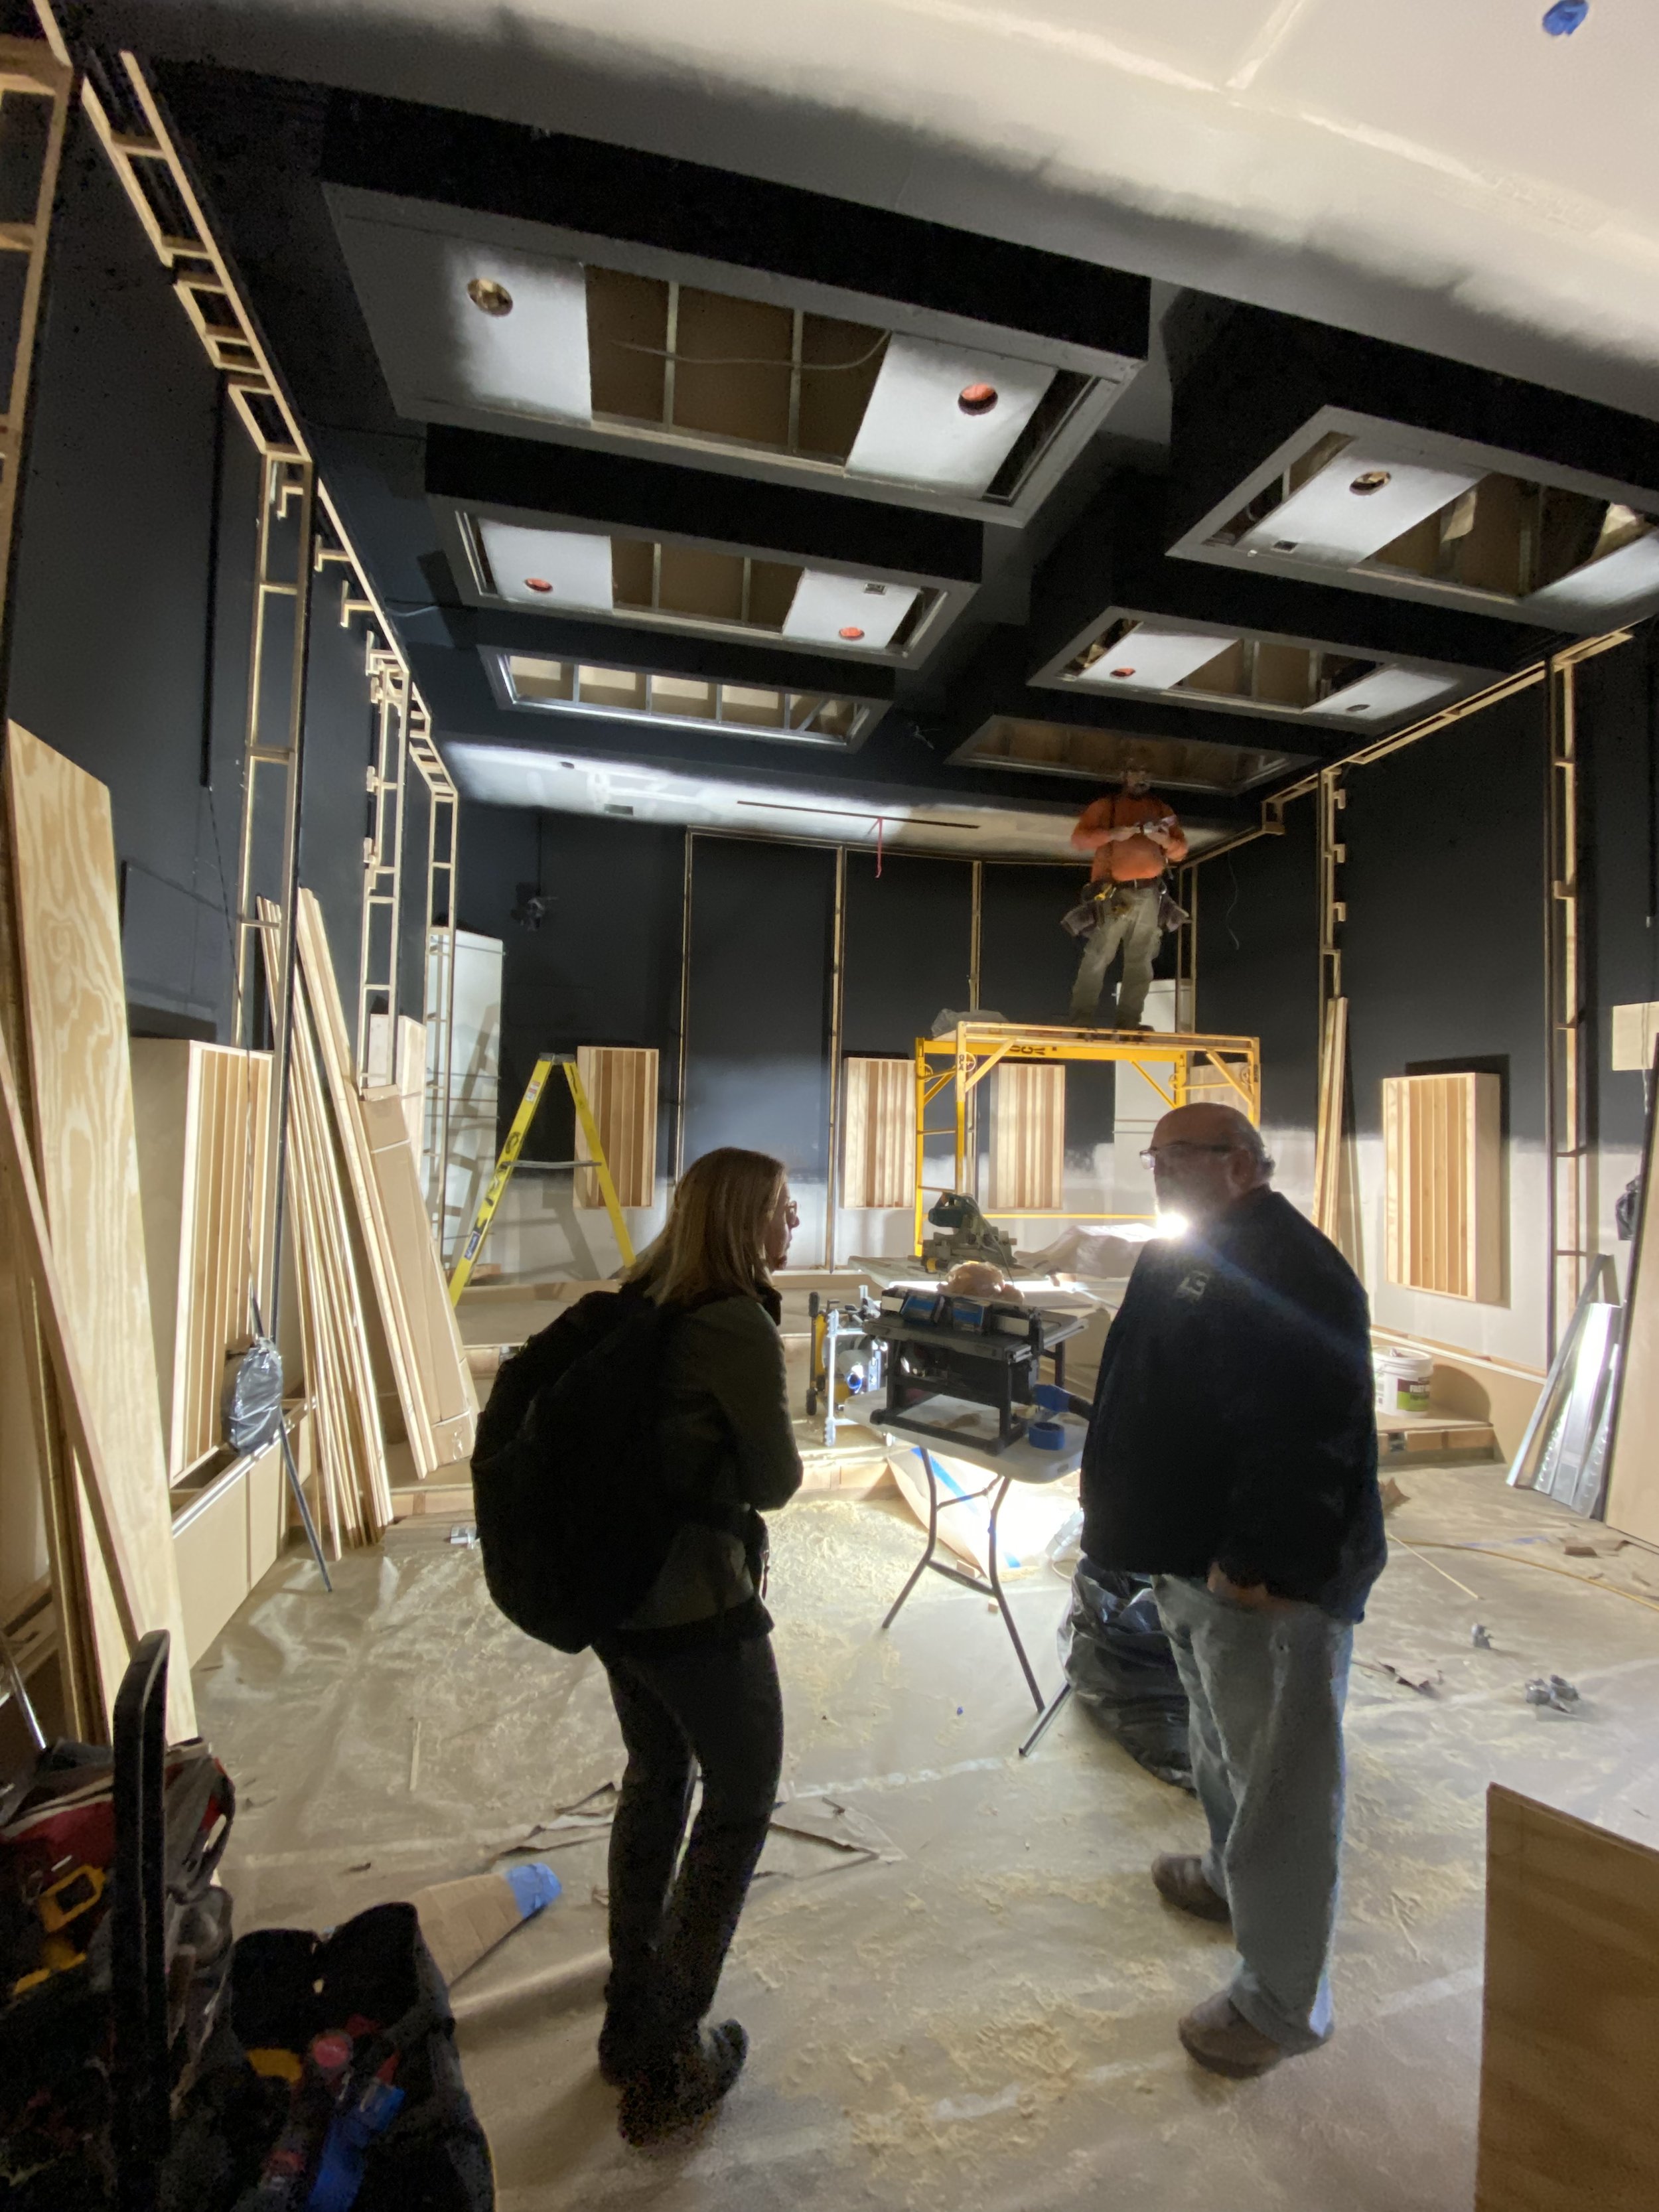
We paced the room left and right, front to back, to see if any additional steps needed to be taken. To our surprise, the room had a very large sweet spot and the rear listening position was not overly bass-heavy as most have come to expect on mix stages. There were a few reflections coming from above the door and the rooms were about 5% more washy than we preferred so we ended up adding about 10% more materials in the walls. Lee said he typically leaves 10% out to leave room for individual taste as it’s always easier to add than to remove treatments. Once complete, the rooms were perfect. It was at this point that we brought in Champion Wall Systems to apply the acoustic fabric and button everything up.
Tuning
Finally in the finishing steps, Westlake Pro arranged for our room tuning. We opted to have all three stages tuned exactly the same for maximum flexibility. We liked the idea of tailoring the response to our work (animation) rather than any one mixer’s individual taste. Since the tuning was all performed in the Crown Dci amps themselves, presets were created that can be called up in the future, should we need to replace any gear down the line.
Style

Once all the extremely complicated work of building a mix stage is done, there are still many finishes that need to be considered. We had a lot of fun bringing the Boom Box Post style to our very own stages. Here are just some of the decisions put in front of us.
Fabric - wall and cloud colors
Mix and client desks - size, style, built-in charging options
Furniture - chairs, couches, armchairs, lamps
Lighting schemes
Flooring
Projector camouflage
Final Thoughts

Constructing our own mix stages was the greatest learning experience. Faced with thousands of decisions, we went through the gauntlet and came out the other side. Now that we have had the chance to show our clients the new stages, it was all well worth it.