

WRITTEN BY JACOB COOK
ASSISTANT SOUND EDITOR, BOOM BOX POST
In past blog posts we’ve discussed tips to effectively capture sound effects, methods for recording water and even how to create iPhone recordings on the fly. Today I wanted to offer some quick tips related to recording planning and recording effectively in the field. These habits can help elevate your recordings to the next level, creatively and organizationally.
Create a shot list

Setting specific goals for your recording trips can mean the difference between coming home with a few random clips and capturing a complete and thorough set of recordings of a desired subject. My shot lists are a checklist that contains every single recording or sound I need to capture. I often include details, such as the number of takes needed, perspective and info related to the challenge of capturing a specific source. As I progress through recording, I check takes off of the list. I find Google Keep is a great tool for these kind of lists. I can create the list on any device; my computer, my phone, tablet etc, and edit and check things off on my phone while in the field recording. I can also use the app to take notes on any specific subject or take(see below for more info on note taking). Creating and maintaining a shot list can make organizing and editing your recordings easier as well. You will know what order you captured each source and how many takes you should have. This list here is an example of a shot list I created for one of my recording trips to the Salton Sea.
Bring Backups
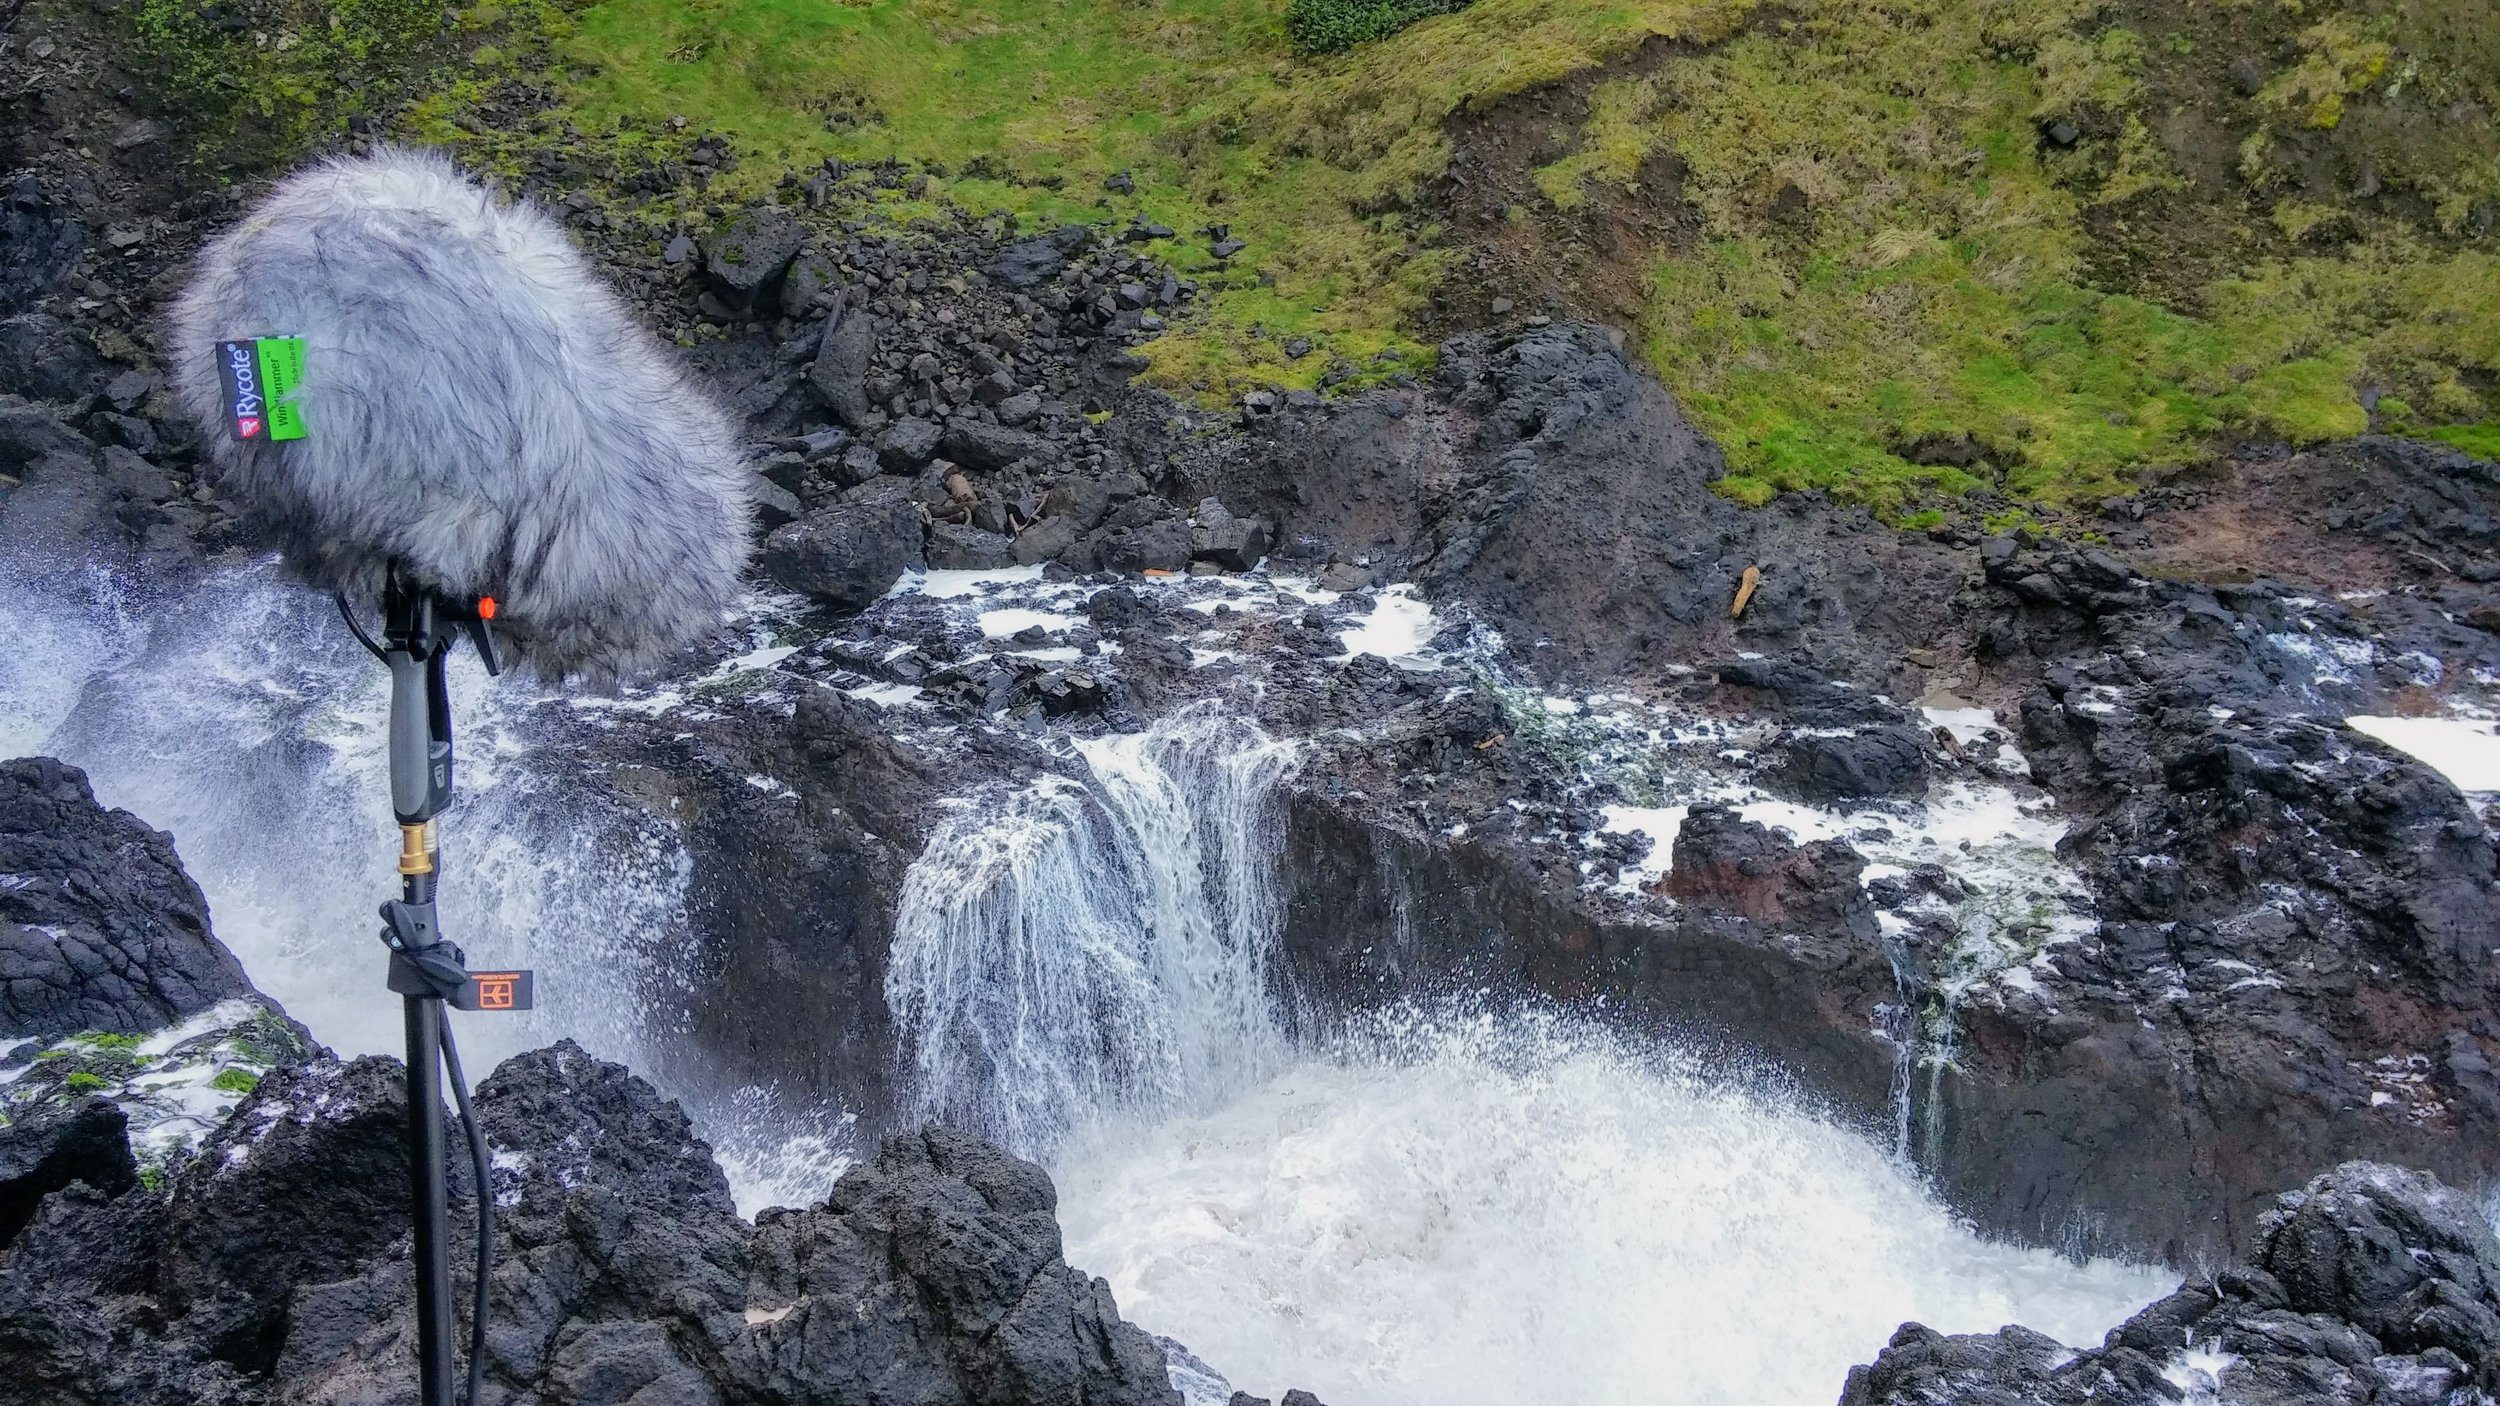
I find it essential to carry backups of any items likely to fail or be used up in the field. This includes XLR cables, gaff tape, headphones and especially batteries. If possible I also like to bring an alternative pair of microphones, in case I decide they could work better for a certain situation or my first choice has become damaged or non-functional. I will never forget the trip where I hiked for several hours to an abandoned mine, only to find my pair of condenser mics were shorting out in the underground humidity. I was still able to capture a brief recording, but carrying a shotgun or additional pair of mics would have allowed me to leave the location with more usable recordings, and much less disappointment.
Take Time to Listen Before Hitting Record
This is a tip I used to hear a lot from experienced recordists, and I didn’t understand it’s true value until I really made a concerted effort to slow down and listen before every take. I find that by taking an extra minute to listen with my ears before recording, I can often find a previously unnoticed feature of the source, more optimal microphone position, or even a new source of sound. The overall lesson is to slow down and pay attention to your recordings. It is easy when we are in a hurry to throw down some mics and hit record, but taking a more thoughtful and considered approach can greatly improve the value of your recordings.
Slate Your Takes
This should be a no brainer for many recordists, because we have all made the mistake of not slating takes in the field. It is extremely frustrating to pull a hard day of recording work into a Pro Tools session and have to spend time scrubbing around multiple takes to find the sound you need, or trying to identify the location in which your ambience was recorded. Even when using digital recorders with file and take naming features I still verbally slate the head of each take as often as is possible. It makes the post process very easy when I can hit play at the head of the take, listen to my slate, label the track accordingly and move on.
Take Notes
Taking notes during your recordings will help you in the post process in same way that slating takes will. Any extra information you can provide yourself or your editor is time saved in the post editorial process. Examples of useful notes could be “Audible aircraft at 01:04-02:36,” “killer mud bubble burst at 03:45,” and so on. This can save a lot of time in editorial, allowing you to spot through timecodes rather than listening to pieces you are going to need to cut out anyways.
For more field recording tips check out these articles:
Recording Adventures: Preparing for a Successful Field Recording Trip
Getting Good Sound Effects from 'Passive' Field Recording Sessions
Community Field Recording Tips
Into the Wild: A Postmortem on a Wildlife Recording Trip with Jason Wolford