

WRITTEN BY ERIC PAULSEN
SOUND EFFECTS EDITOR, BOOM BOX POST
There’s nothing worse than having your show fail quality control due to a tiny tick in the dialog. What a silly thing to reject an entire episode for! But sadly, it happens. And once the QC operator finds one tick, suddenly they are hearing ticks and clicks everywhere in your mix. Fortunately we now have tools to easily pre-empt such rejections before they even have a chance. Just combine iZotope RX and some AudioSuite handles and you’re good to go!
Ticks can be a sneaky and nasty thing. You can often miss them when mixing on your monitor speakers, but they’re clear and obvious to the QC operator listening back on headphones. Of course, mixing on headphones is a bad idea, so you can’t just tackle the problem that way. And even when you do catch them during your mix, it’s frustrating to have to stop what you’re doing just to clean them up. Fortunately, today’s most popular suite of noise-reduction plugins, iZotope RX, has some excellent tools for dealing with ticks and clicks. The two components best-suited to this task are quite logically named iZotope De-clicker and De-crackler. Let’s check out an example workflow.
Step 1: Open iZotope's Declicker & Decrackler audiosuite plugins

These two plugins are incredibly easy and powerful, each barely requiring any adjustment to get good results. You can use either plugin as a live AAX insert; but you’re probably better off going AudioSuite both for the sake of reducing load on your processor and for a cleaner workflow.
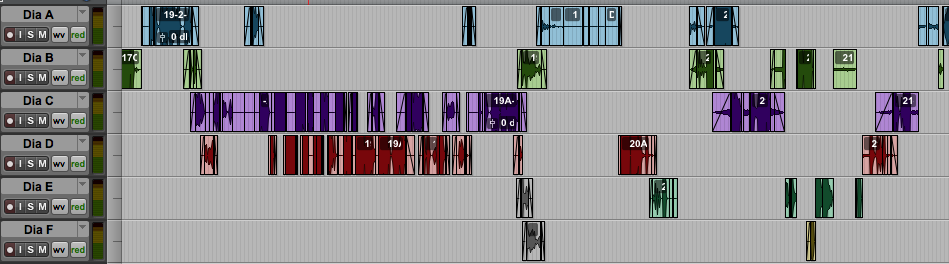
-This picture is a section of edited dialog for a show.
step 2: create duplicate playlists
Preserve a copy of all your hard dialog editing work using playlists. This way, if the noise reduction was over-done in a certain area, you can quickly and easily get back to the original. Do this by selecting all your dialog tracks, holding Option+Shift, clicking the down-arrow to the right of any track’s name on the Edit Window, and choosing “Duplicate.”
Now you can quickly revert any track to its original pre-iZotope state if needed.

-Choose Duplicate here...

-And all the selected tracks' playlists become duplicated!

STep 3: select Your Input & Output Processing Modes

Make sure that the plugin is set up to “create individual files” on the Processing Output Mode selector, and to go “clip by clip” on the Processing Input Mode selector:
Step 4: Add Handles

Then, make sure you’re set to process handles of some duration, instead of “whole file.” Five seconds or so is probably good.
Step 5: Render
Then just select everything and hit Render! Time to get a cup of coffee…

And that’s it! Now you’ve washed all the ticks and clicks out of your entire mix, without even having to think about it! This is a fine workflow for ticks and crackle, where you will almost certainly be happy with the results. It’s not as effective for broadband noise reduction, however, as that tends to require much greater attention on a case-by-case basis. I've found this is a great workflow trick for live action. If you know your dialogue is going to be riddled with ticks and clicks, this is a really great starting point. Of course there will be cases where you'll need to dive in a bit deeper and for that, we have everything, in its clean original form on those alternate playlists.
But for simply removing those annoying ticks and clicks that always seem to be hiding in your dialog somewhere, this trick can’t be beat!