

WRITTEN BY Jacob Cook
Assistant Editor at BOOM BOX POST
When we hit the studio or the field to record sound effects, we want to leave with the best material possible. Not only do we want recordings that enhance our current project, we want additional material that we can use to build our libraries. We want to optimize our time to create the best possible ratio of useable recordings to useless takes. We want to take our material back into the studio, throw it into the DAW, hit play and say "Wow! That whoopee cushion sounds incredible!"
In interest of creating the best possible sound effects recordings, here are Boom Box Post’s Top 5 Tips for creating useful and professional sound effects recordings.
Mind your Meters
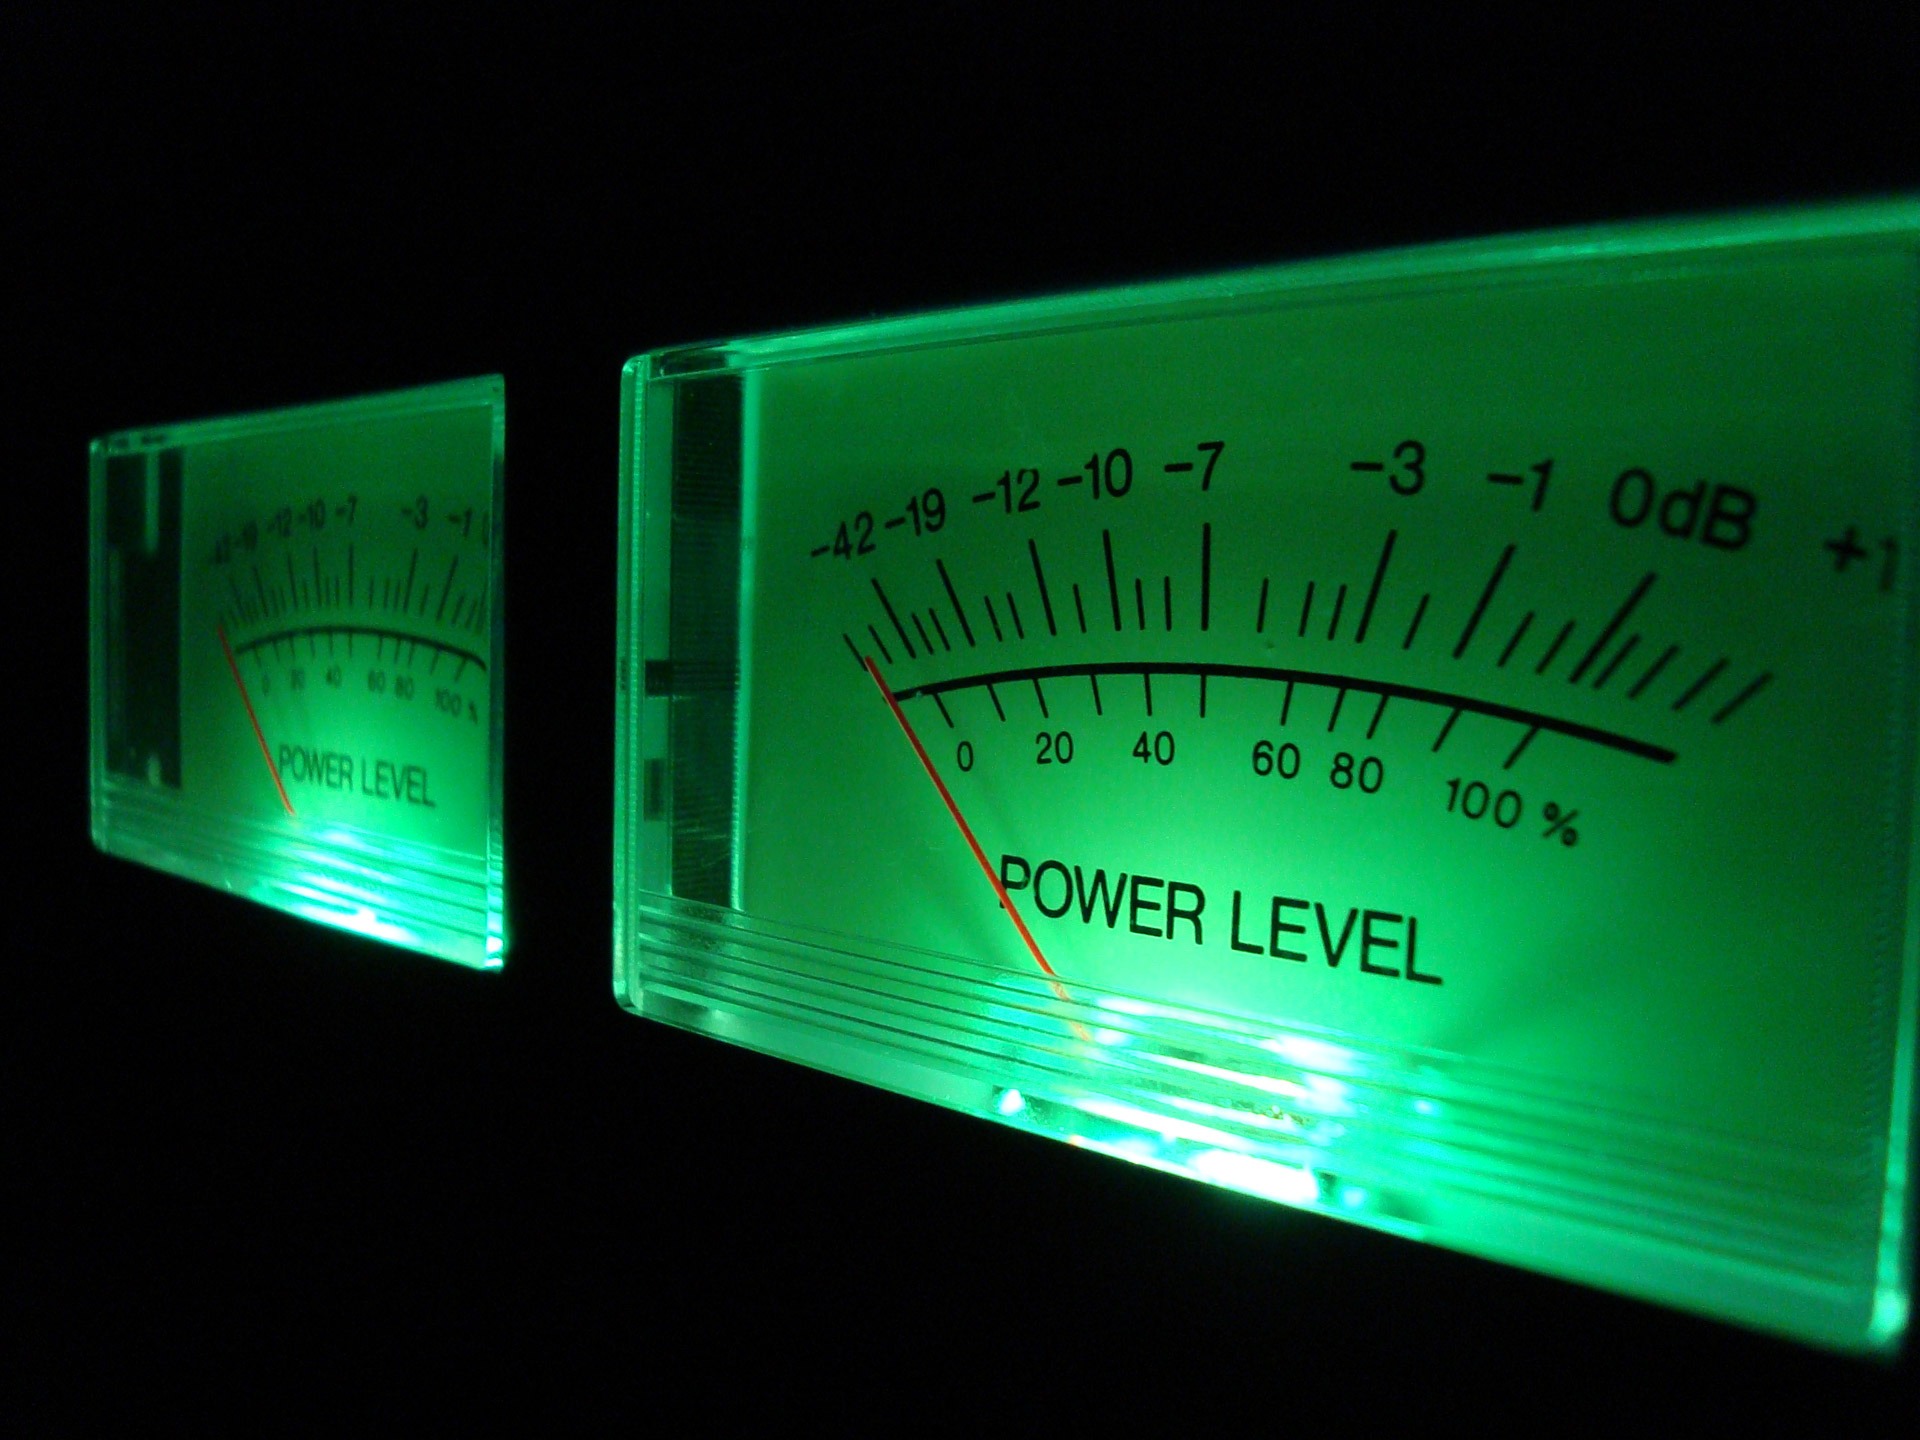
Understanding of gain structure and correctly setting levels are essential pieces of knowledge for creating solid sound recordings. It all comes down to hardware and analog to digital conversion, specifically bit-depth. The full technical explanation of these is beyond the scope of this article, but we can hit a couple of key points.
When analog sound is converted to digital information, recording hardware samples the electrical signal coming out of the preamp, measuring its amplitude, but the hardware can only recognize so many different values. The greater the level you record, the more values you can potentially use, and the better your signal-to-noise ratio will be.
To put it simply, you should record loud enough to get a solid signal-to-noise ratio, but not so loud that you risk clipping your signal. When your recording clips, your sound level exceeds your hardware’s ability to measure it, and that moment of audio is lost. A good general guideline, carrying over from analog days, is to record with your signal hanging around -20 dBfs, with peaks up around -10 dBfs. You can also record lower or higher depending on the subject. For example, you might record ambiences quieter to avoid cranking your pre-amps, or record a gunshot louder, to engage limiters and get a clean recording of the quieter elements after the transient, like the reverb tail.
Most modern hardware comes with a number of serious benefits such as high bit-depth recording and transparent-sounding limiters, which means you can be pretty conservative in setting levels, and still get great recordings. For further reading on setting levels, digital audio and bit depth check out: Bit-Depth on Wikipedia, and How much headroom should I leave with 24-bit recording? on Sound on Sound.
Record Room Tone
When grabbing sound in the field, we are often recording in less-than-optimal recording environments. It is important to be mindful of the noise floor at your recording location and capture a clean chunk of room tone for each perspective.
Room tone is a brief recording of a locations ambience without your principal prop or subject creating any sound. This is most valuable with sound effects work for de-noising recordings. By feeding a clean noise profile of room tone into your noise reduction software(we like Izotope RX 5 De-noiser), you give the software the best chance at eliminating or reducing the noise, giving you cleaner and more useable recordings.
It is generally best to grab room tone after setting your levels, and before recording a take. This can be challenging in an active environment, where air traffic and other factors may interfere. I like to capture 30 seconds before my first take, and another 30 seconds after the last take so my bases are covered when I begin the editing process.
For more info check out Paul Virostek's excellent article on How Recording Room Tone Improves Your Field Recordings
Watch out for Wind

If recording outdoors wind and other air movement can be a serious hindrance. All sound is essentially the vibration of air molecules, and in order to capture this, microphones are very sensitive, incorporating ultra-thin diaphragms to detect even the faintest change in air pressure. The downside is that when heavy wind comes along, it buffets the diaphragm, severely affecting your recording. Light winds can manifest as a low frequency rumble, while stronger gusts can be powerful enough to clip your hardware and render a recording useless.
While a high-pass filter can alleviate minor symptoms, the best solution is to prevent the air from buffeting the microphone diaphragm in the first place. Manufacturers such as Rycote, Rode and Cinela offer microphone “blimps,” basket-like constructions which slow down air movement and create a neutral space around the mic. For heavier winds you can toss a furry windshield around a blimp, preventing all but the most robust of gales from affecting your recording. The combination of these tools can be highly effective. Some minor high frequency loss is an inevitable but very tolerable side-effect. Check out our gear recommendations at the bottom of the article to see what might work for you.
Pay attention to Perspective
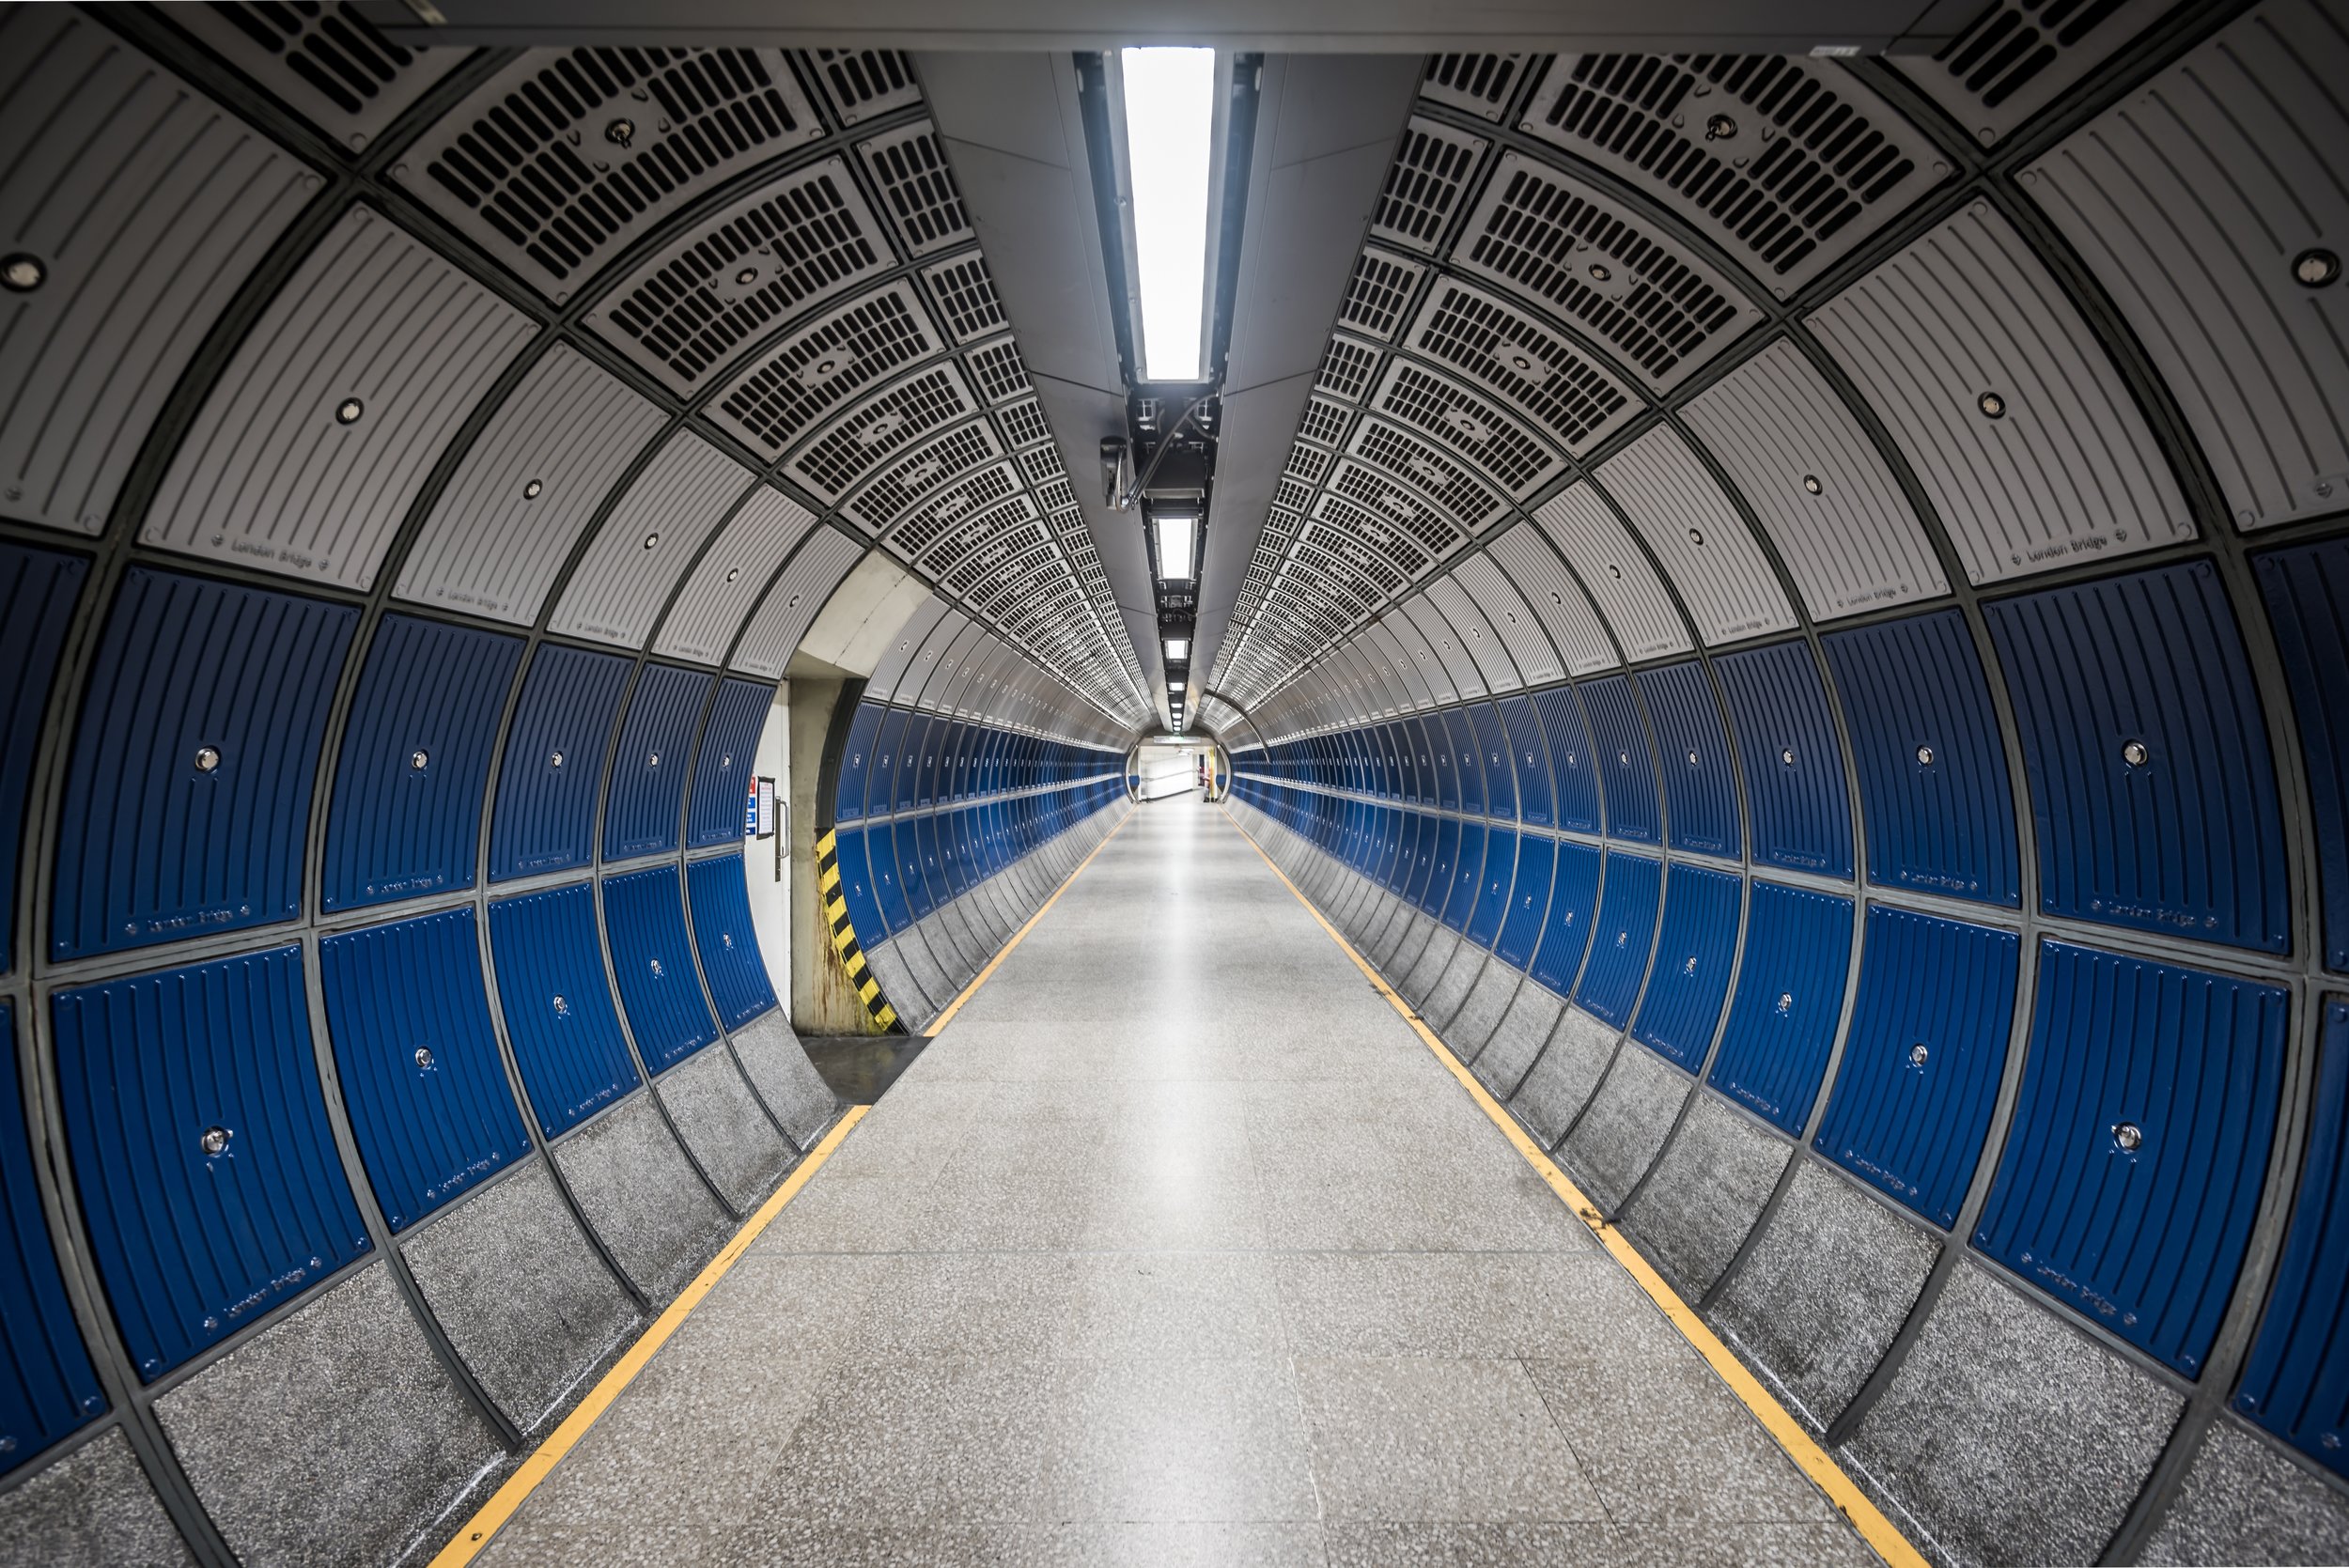
As discussed above, environmental factors are a major consideration when recording sound effects, but not all are detrimental. Some characteristics of a location, such as the acoustics of a studio or exterior location can enhance a recording. Additionally, a prop or subjects sound may change when heard from a greater distance or from a different perspective.
It can be be incredibly useful to capture recordings at such additional perspectives when on location. Many sound editors will appreciate the option of using “Metro Train_Passby_100 feet” vs “Metro Train_Passby_3 feet,” as it is likely each perspective will have a very different sound, with varying levels of natural reverb and doppler effect.
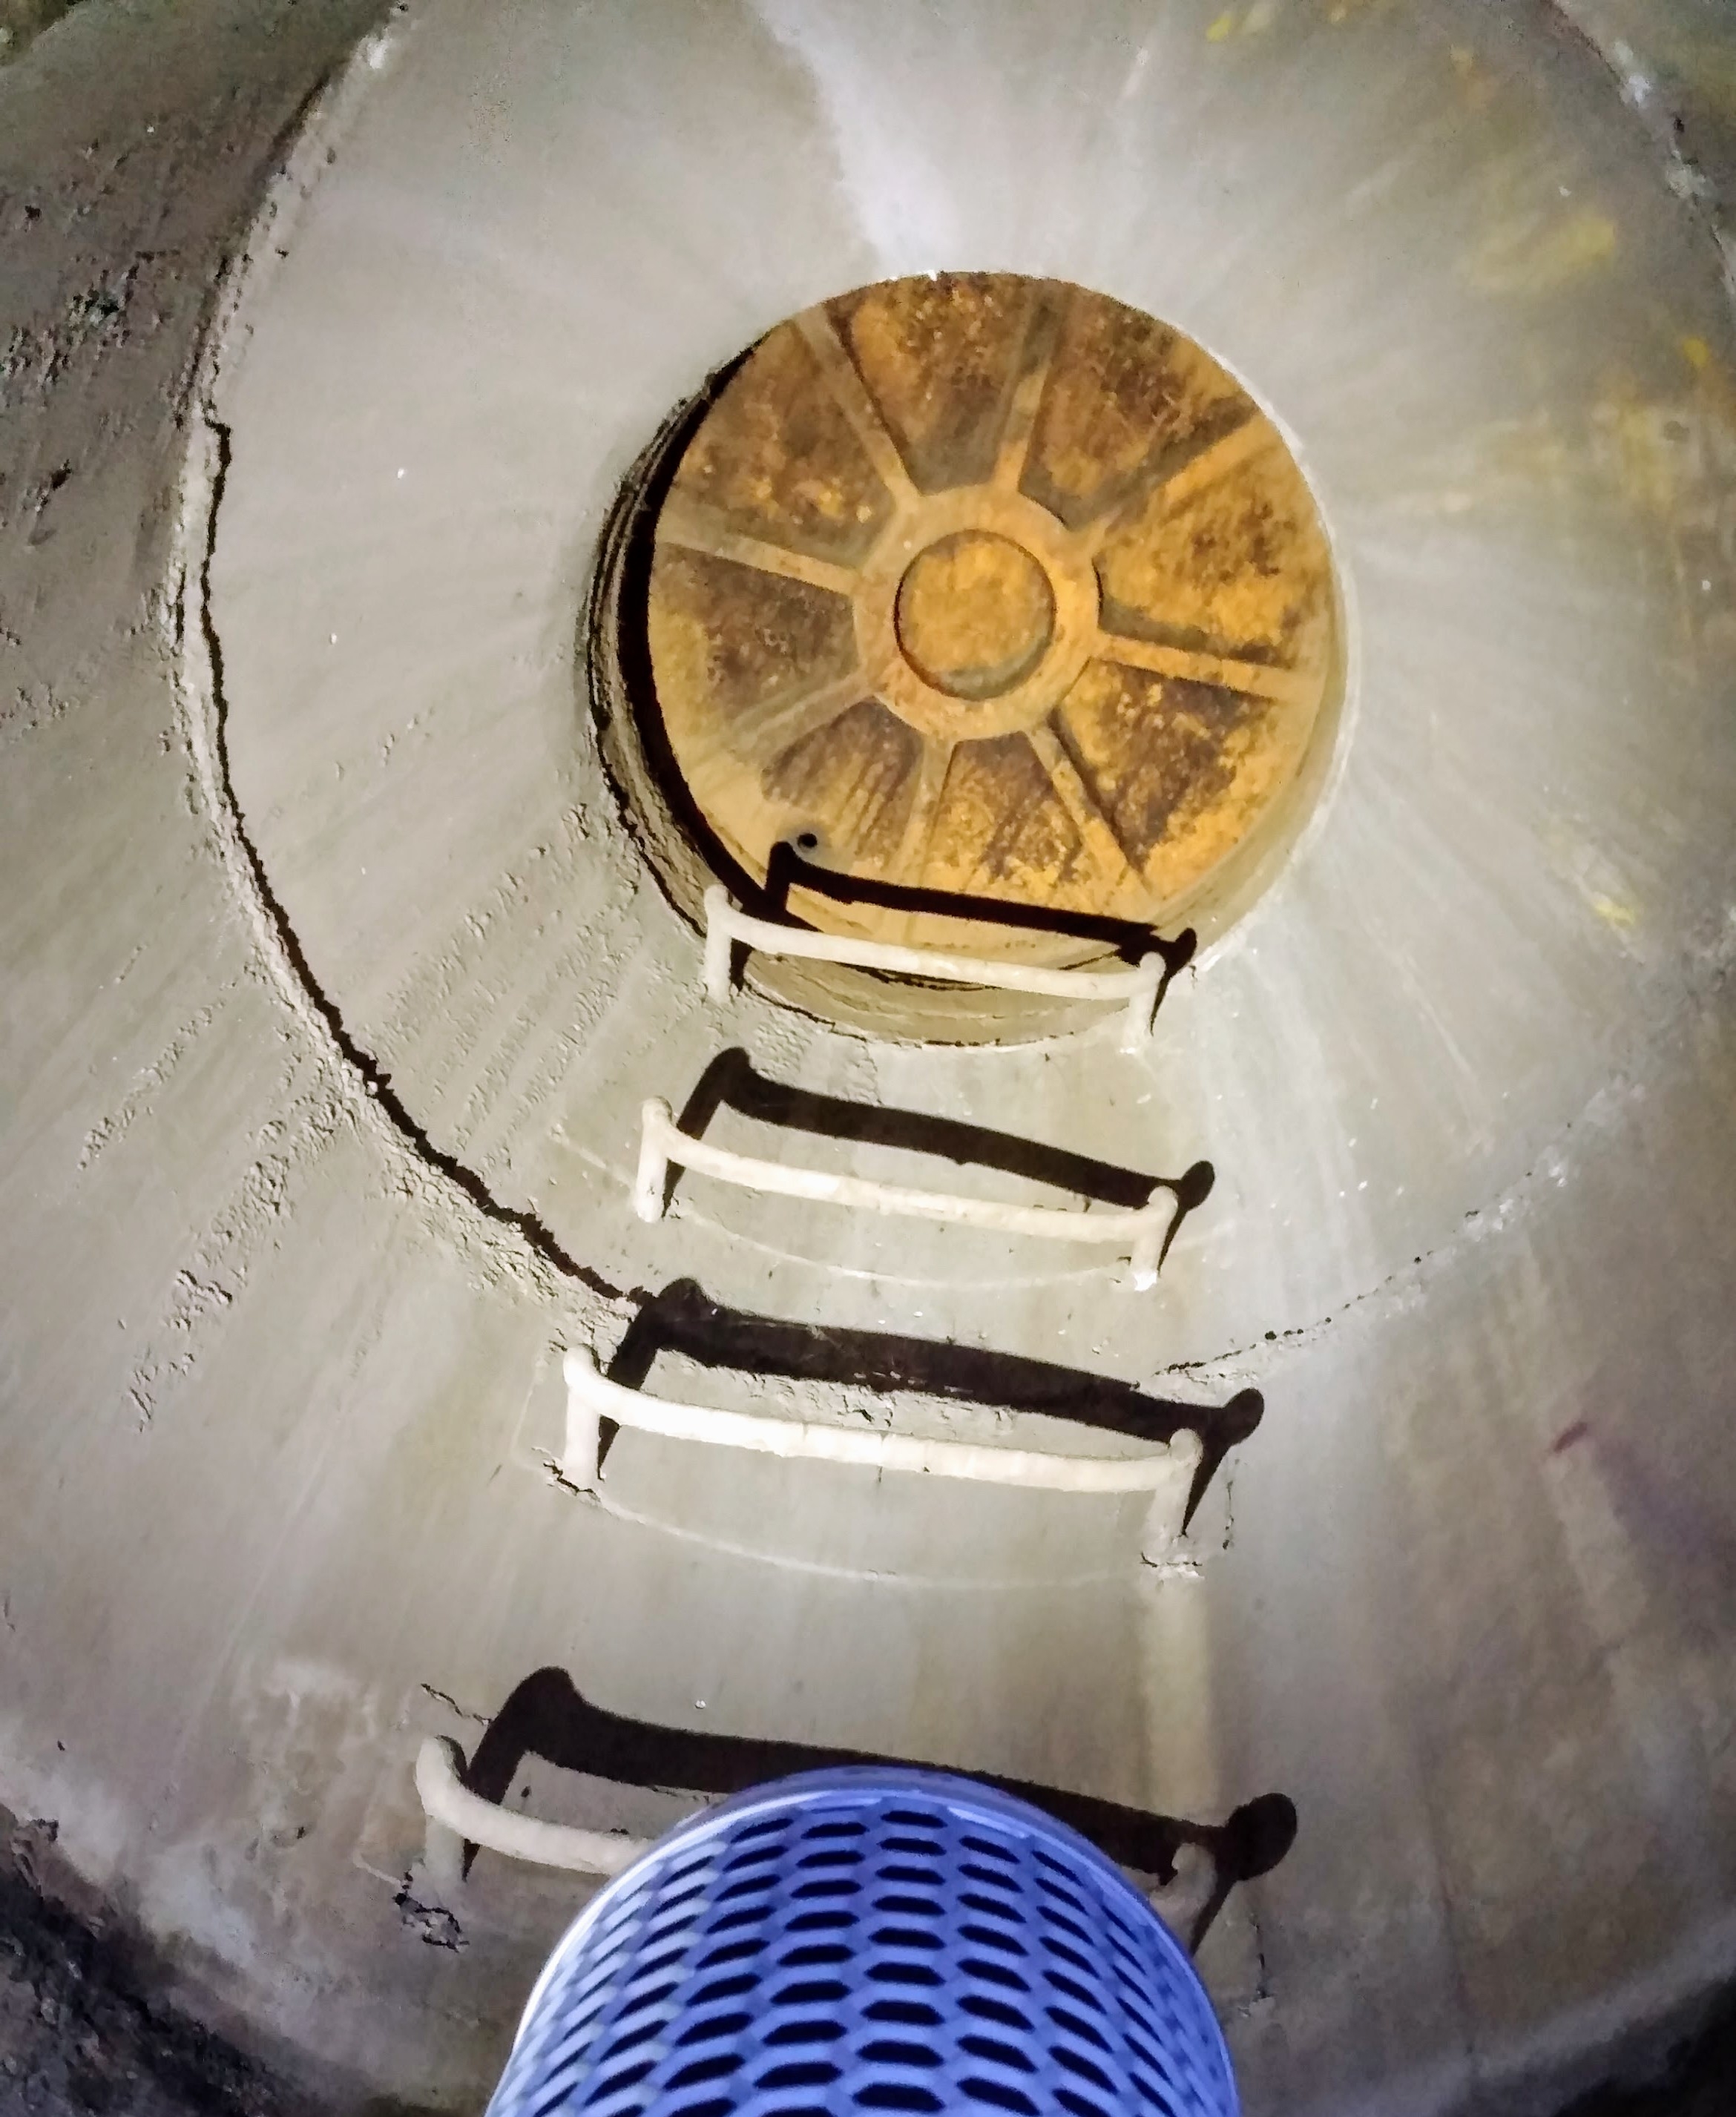
Momentary sounds such as gunshots and impacts also have a way of exciting spaces, creating interesting reverb tails, which can help shape the overall sound. Recording wider perspectives can help capture this. If you are recording a sound effects library to sell, recording additional perspectives is a great way to add value and enhance a great collection.
Take an additional Take
It never hurts to record more than you need. When grabbing important sounds, we always like to grab one extra take or variation on a prop or subject. Environmental factors, finicky equipment, and human error can all slip in and ruin a recording you believed pristine and when it happens you’ll be glad to have that extra take!


